
Routing and Data Fetching in Next.js
A guide to using file-based routers and dynamic routing

In this article, we will cover:
- How to render specific components on different routes.
- The difference between static and server-side generation.
- Fetching data with getStaticProps.
- Getting data and dynamically generating routes with getStaticPath
- Getting API data on the server side via getServerSideProps.
Introduction
Lets day you have use-case for building a website
-
It should not be a traditional single-page web app. Instead, the website should have separate pages that would be rendered on their respective routes.
-
Since the website is supposed to be static, performance has to be the top priority.
“No problem,” you tell them. “I have already used React Routers before. This work will be effortless.” However, since it is a static website, you want the website’s performance to skyrocket. “How do I build a performant website?” you ask yourself.
After some research, you find out that there is a framework called Next.js.
What is Next.js and when should you use it?
The birth of Next.js has caused many developers to jump ship from plain React to Next.js. Surely, there must be something that sets it apart, right?
To that, my answer is a solid yes. According to this Stack Overflow post, this library utilizes an easy-to-use routing system that allows the programmer to display specific components on specific routes. Moreover, it also allows for server-side rendering. This method allows loading time to be spread over time, which makes performance better. Furthermore, according to Lee Robinson (a contributor to Next.js), the technology gives you the flexibility to use either server-side or client-side rendering on a per-page basis.
Next. js is clever enough to only load the Javascript and CSS that are needed for any given page. This makes for much faster page loading times, as a user's browser doesn't have to download Javascript and CSS that it doesn't need for the specific page the user is viewing.
As of March 2020, the framework is used by many large websites, including Netflix, GitHub, Uber, Ticketmaster, and Starbucks. In early 2020, it was announced that Vercel had secured twenty-one million dollars in Series A funding to support improvements to the software.
You might be wondering, “So why not use plain React with React Routers? There is no need to learn yet another framework.” To that, my response is that in plain React, if your app’s size becomes larger and more complex, performance takes a back seat. If your app is sluggish, no one will want to use it. Next.js curbs this issue by minifying JavaScript, caching builds, and other techniques to ensure the greatest responsiveness.
Next JS is Server-side rendering framework that allows developers to pre-populate a web page with custom user data directly on the server. It is generally faster to make all the requests within a server than making extra browser-to-server round-trips for them. This is what developers used to do before client-side rendering.
In a nutshell, it makes routing easier and ensures the maximum possible performance for your static website.
Now let’s get our feet wet. As a first step, we will learn about simple file-based routing.
File-Based Routing
Setup
To initialize the project, run the following terminal command:
 Terminal command to write
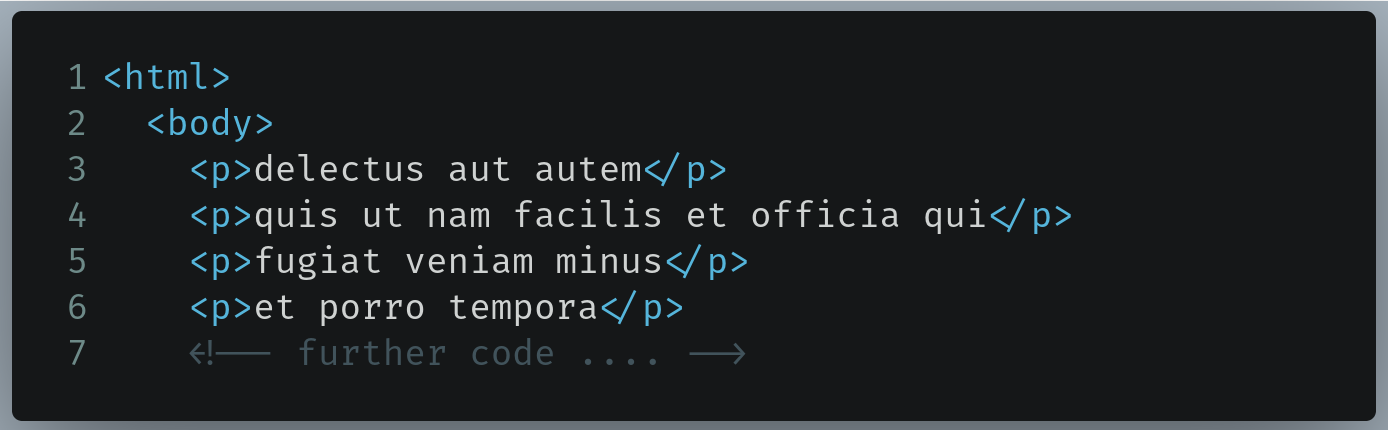
Navigate to the /pages directory of the project. There, locate the index.js file. In /pages/index.js, find the Home component:
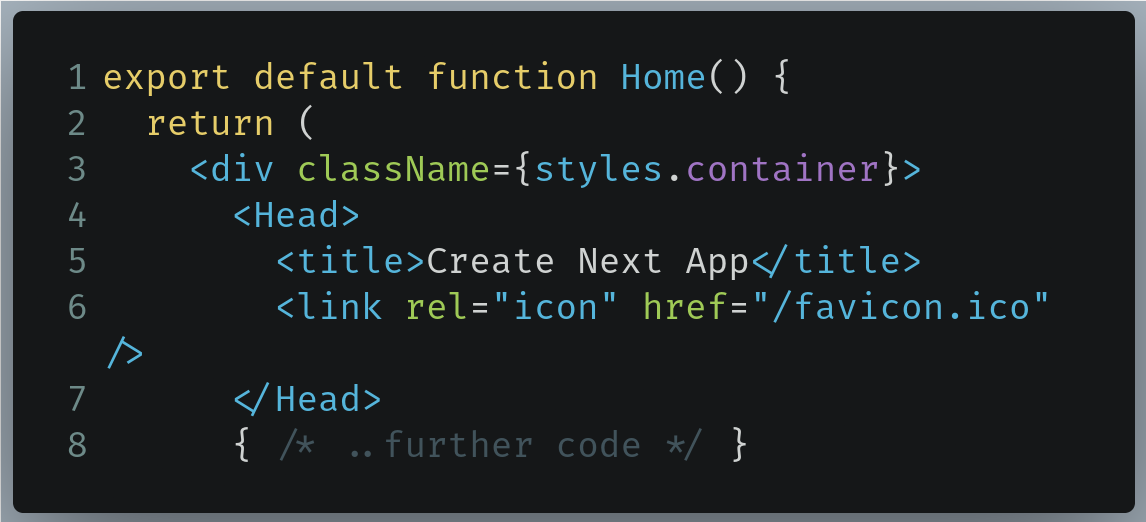 Code to find in /pages/index.js
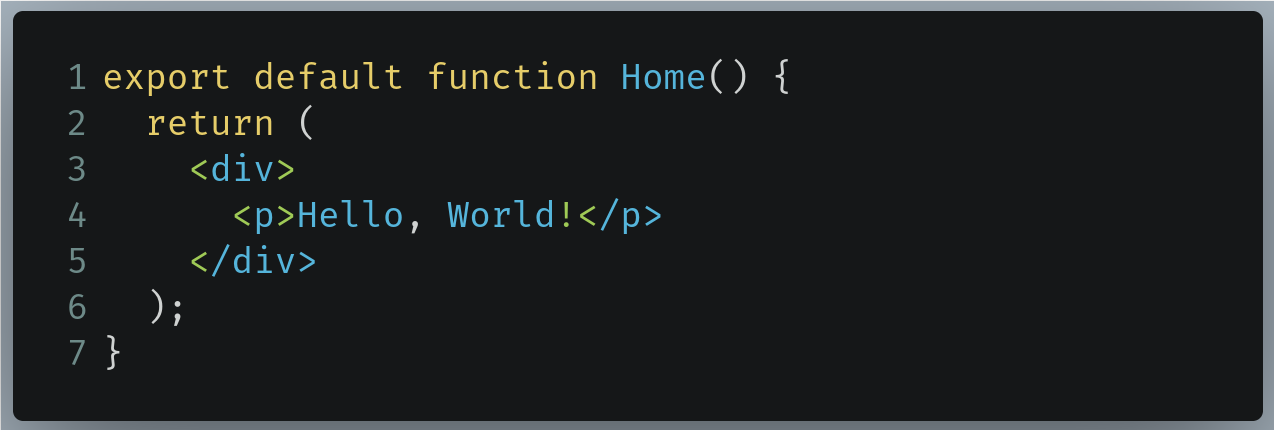
Replace it with the following:
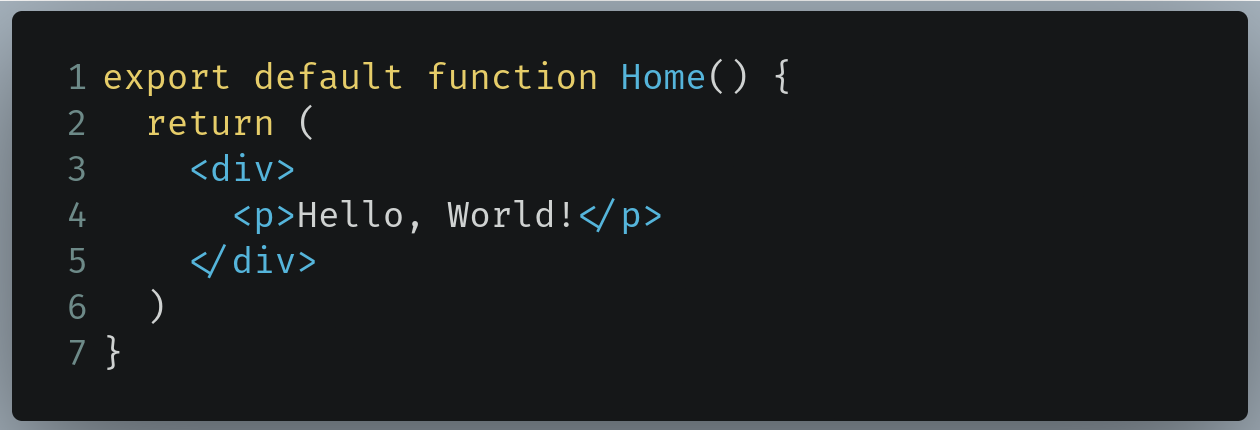 Code to replace with in /pages/index.js
Run the code using the following command:
 Terminal command to run the code
To see the output, go to localhost:3000. This will be the result:
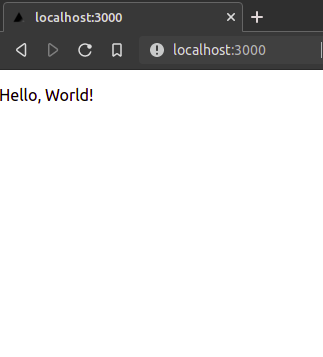 Output of the code
When that is done, let’s move on to creating simple pages for our app.
Creating pages
Each page in Next.js is driven by a React component. To create page components, Next.js relies on the /pages directory. Moreover, these pages are associated with their filename. For example:
-
When you go to the /about route, the component in pages/about.js is rendered.
-
Likewise, if you go to the /contact route, Next.js renders the component located in pages/contact.js.
-
Furthermore, if you navigate to /todo/helloworld.js, the component in pages/todo/helloworld.js will be displayed in the browser.
-
When you go to the / (root) directory, the component in pages/index.js is rendered.
-
If you go to /todo, the React component in todo/index.js is displayed.
Note: The index.js file is an exception to this rule.
Now that we have discussed the workings of this concept, let’s now implement it in code.
In your /pages directory, create a file called about.js. There, write the following code:
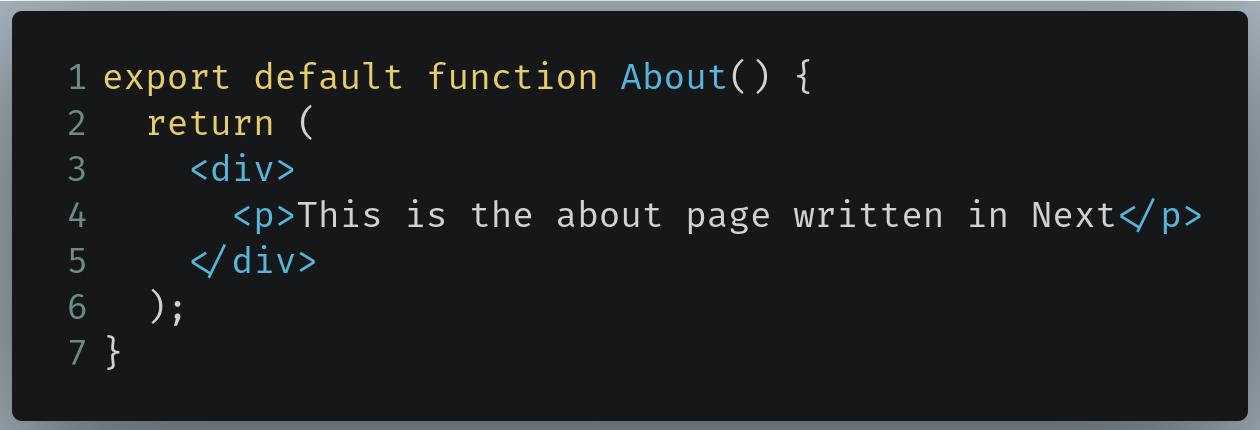 Code to write in /pages/about.js
- Line 1: Create the About component and then export it so that it can be used in the project.
Run the code. This will be the output:
 Output of the code
As you can see, our code works! When we navigate to the /about directory, the pages/about.js component is rendered to the page.
As discussed before, we can even write code to implement sub-routing in our application. To do so, create a folder in the /pages directory called contact. In the contact directory, create a file called index.js. In the /pages/contact/index.js file, write the following code:
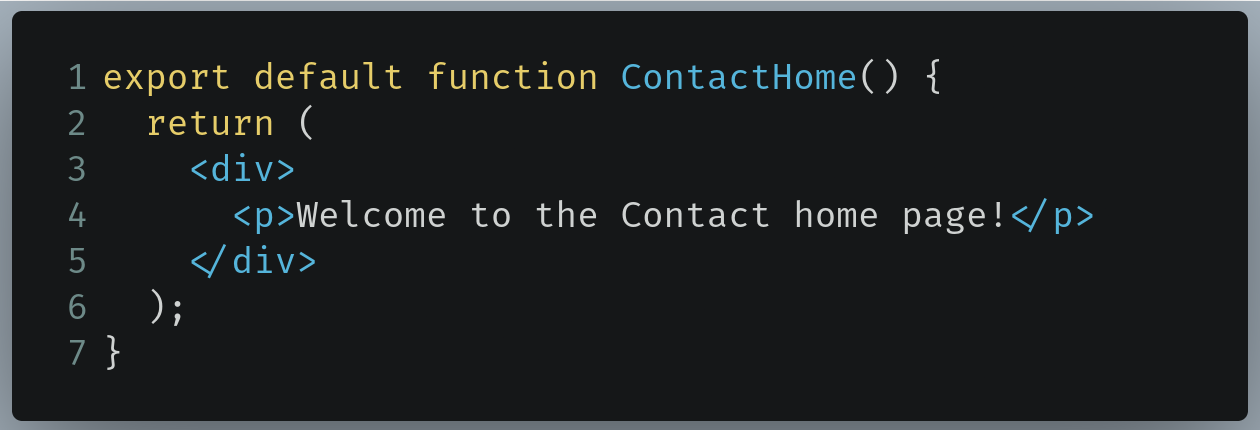 Code to write in /pages/contact/index.js
Now let’s create another component in the /pages/contact directory with the name helloworld.js. In /pages/contact/helloworld.js, write the following piece of code:
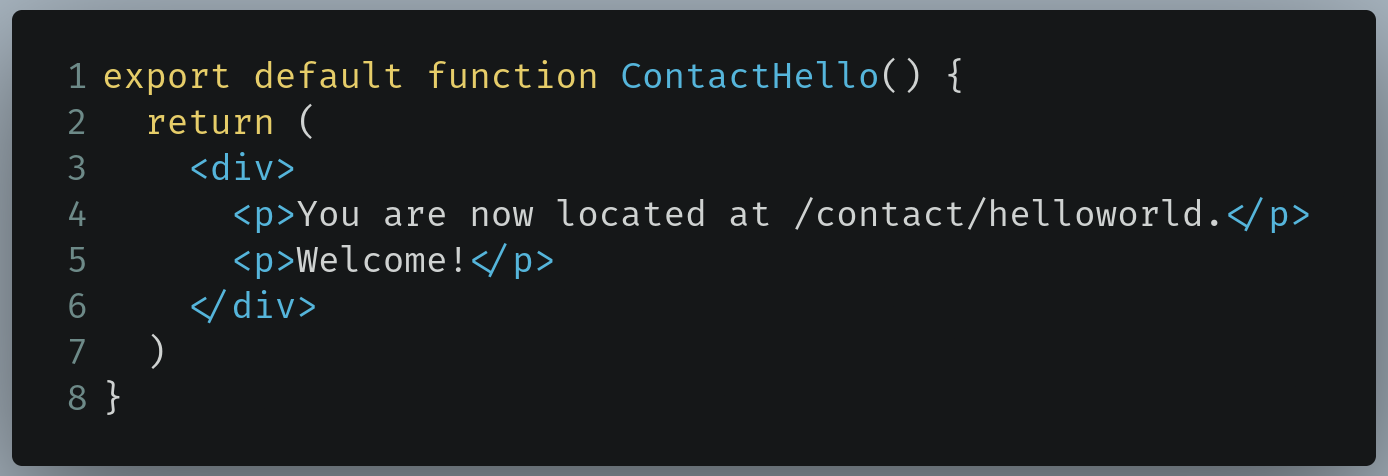 Code to write in pages/contact/helloworld.js
Run the code. This will be the result:
 Output of the code
As you can see, our code works! When the user navigates to the /contact route, the contact/index.js file is rendered. However, when the client goes to the /contact/helloworld path, the ContactHello component displays itself.
Judging by how much less code we had to write, it is apparent that Next.js has made it incredibly easy for developers to write routing code in our project.
In the next section, we will now learn about the basics of dynamic routing.
Dynamic routing
Let’s assume that you have a directory of contact information of various people on your website. In this case, you would want to code your routes with the /contact/{id} format, where {id} is the parameter that contains the ID of the specific person in the list. For example:
-
contact/1 renders out the information about the first contact in the list.
-
In a similar fashion, contact/2 gives us the data on the second contact, and so on and so forth.
So how do we do that? One possible solution is to make our /pages directory have the following file structure:
 Handling three contact items
Sure, that might work. But what if we had hundreds of contact items? This would make writing further code for more contacts incredibly tedious and time-consuming. Luckily, Next.js already has such a system in place.
In your pages/contact folder, create a file called [id].js. This [id].js file will be rendered when the user navigates to the /contact/{id} route, where {id} is a parameter.
In /pages/contact/[id].js, write the following piece of code:
![Code to write in /pages/contact/[id].js](https://cdn-images-1.medium.com/max/2776/1*Zbh0WK_yN1jZB2qLnMZZVQ.png) Code to write in /pages/contact/[id].js
Code to write in /pages/contact/[id].js
Now run the code. This will be the result:
 Output of the code
As you can see, when we navigate to the /contact/{id} page, our component is rendered. This means that our code works!
However, there is still a problem: How do we extract the {id} parameter? This is where the useRouter Hook comes in.
The useRouter Hook
The useRouter Hook essentially tells us information about the URL (e.g. the current route the user is on or the parameters). In this article, we will only be concerned with the parameters.
In /pages/contact/[id].js, find the following piece of code:
![Code to find in /pages/contact/[id].js](https://cdn-images-1.medium.com/max/2776/1*btRLoEXNMckyzDwGo5QaZA.png) Code to find in /pages/contact/[id].js
Code to find in /pages/contact/[id].js
Now replace it with the following:
![Code to replace with in /pages/contact/[id].js](https://cdn-images-1.medium.com/max/2776/1*XvRMyp6ZiMNDBU7o009q9Q.png) Code to replace with in /pages/contact/[id].js
Code to replace with in /pages/contact/[id].js
-
Line 1: Import the useRouter Hook.
-
Line 3: Create a useRouter instance that will give us data about what parameters are in the current route.
-
Line 4: Use object destructuring to extract the id parameter from the query object located in the useRouter instance.
Now all that is left is to display the ID. In /pages/contact/[id].js, find your return block:
![Code to find in /pages/contact/[id].js](https://cdn-images-1.medium.com/max/2776/1*L0-V8Op38k8KIu69AJP0PQ.png) Code to find in /pages/contact/[id].js
Code to find in /pages/contact/[id].js
Now replace it like so:
![Code to replace with in /pages/contact/[id].js](https://cdn-images-1.medium.com/max/2776/1*iXv9hrCJlufnVABCqztaXg.png) Code to replace with in /pages/contact/[id].js
Code to replace with in /pages/contact/[id].js
- Line 3: Display the current id parameter.
Run the code. This will be the result:
 Output of the code
Great! Our code works. As you can see, our page displays the current id parameter.
We are now done with this section. In the next segment of this article, we will learn about fetching data from an API through the Next.js framework.
In the end, this is how /pages/contact/[id].js should look:
import { useRouter } from "next/router";
export default function ContactId() {
  const router = useRouter();
  const { id } = router.query;
  return (
    <div>
      <p>At ID number: {id}</p>
    </div>
  );
}
Data Fetching From External API
Setup
This process will be similar to that of the previous section. However, the name of our repository is set to next-api-fetch.
 Terminal command to initialize the repo
When that is done, we will first learn the difference between server-side generation and static generation.
Static-side generation
Let’s say that you are fetching data from the To-Do API and are displaying all of the items:
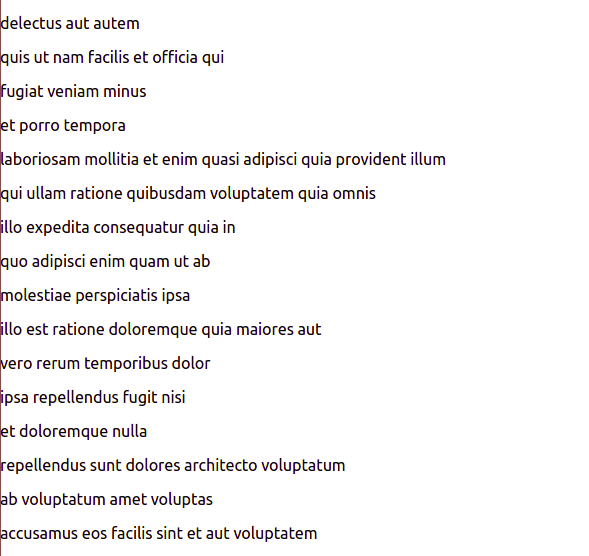
When you tell Next.js to build this page, the JavaScript code is compiled and converted to HTML like so:
 Converted HTML code
This HTML code is served to the user instead of rendering JavaScript on every request. As a result, the rendering process is fast.
Furthermore, since the items in this To-Do API are static (they won’t change anytime soon), static generation is a good use case.
Let’s now learn about server-side generation.
Server-side generation
As an example, let’s use this Sports API to fetch live football match scores. Here, data is changing in real-time. Consequently, it would not make sense for Next.js to cache the results of this code since it would change every time the user refreshes the page.
In this case, server-side generation fits well.
In summary, use static generation for data that does not change frequently, but use the latter for data that changes constantly.
Now that we have learned about the methods of generation, let’s learn about the getStaticProps method.
Fetching with getStaticProps
As the name suggests, the getStaticProps method uses static-side generation. We will be using the To-Dos API.
In pages/index.js, write the following piece of code at the end of the file:
export const getStaticProps = async () => {
  const res = await fetch("https://jsonplaceholder.typicode.com/todos");
  const todos = await res.json();

  return {
    props: {
      todos,
    },
  };
};-
Line 1: Export the getStaticProps function.
-
Line 2: Perform a fetch function on the To-Dos API and store the raw data into the res variable.
-
Line 3: Convert the raw data into JSON and store it into the todos variable.
-
Line 5: Send the converted data as props.
We have now exported the fetched data as props. The last step is to display it.
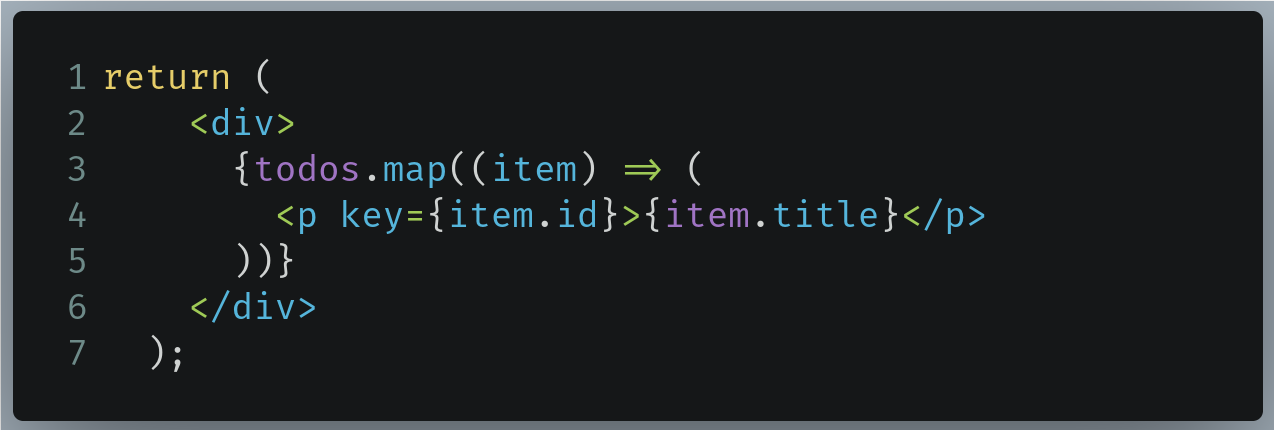
In /pages/index.js, find the following piece of code:
 Code to find in /pages/index.js
Replace it with the following snippet:
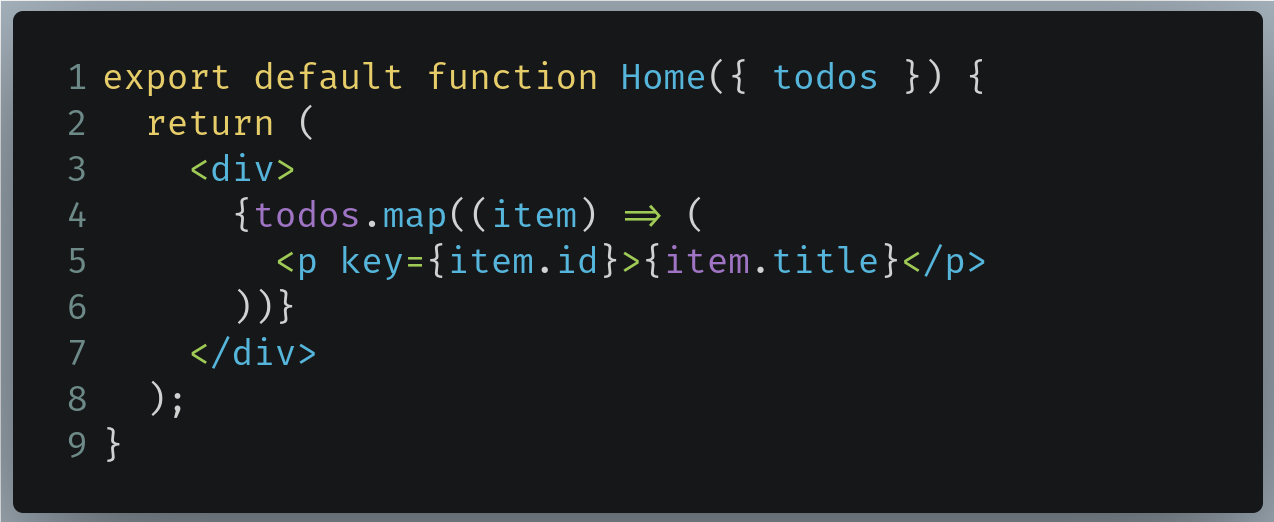 Code to replace with in /pages/index.js
-
Line 1: Bringing in the todos object that we received as props from the getStaticProps method.
-
Line 4: Use the map method on the array and display the title field of each item.
Run the code. This will be the result:
 Output of the code
As you can see, our code works! We were able to display all of the items on our page.
In the end, pages/index.js should look like this:
import Head from "next/head";
import styles from "../styles/Home.module.css";

export default function Home({ todos }) {
  return (
    <div>
      {todos.map((item) => (
        <p key={item.id}>{item.title}</p>
      ))}
    </div>
  );
}
export const getStaticProps = async (context) => {
  const res = await fetch("https://jsonplaceholder.typicode.com/todos");
  const todos = await res.json();

  return {
    props: {
      todos,
    },
  };
};
In an ideal world, we would want each of our items to take us to a separate page where the rest of its properties are shown. To achieve this, this is what we can do:
-
Use a Link component so that each item can be “clickable.”
-
When an item is clicked, it should take us to another page with the /todo/{id} route, where id is the ID of the to-do list item.
-
At the /todo/{id} page, perform a fetch request on the to-do item with the ID field of {id}.
-
Display all of the fields of that item on the /todo/{id} page.
Let’s now implement this in code. In /pages/index.js, first import Link into your project like so:
 Code to write in /pages/index.js
Now find the following piece of code in the same file:
 Code to find in /pages/index.js
Change it like so:
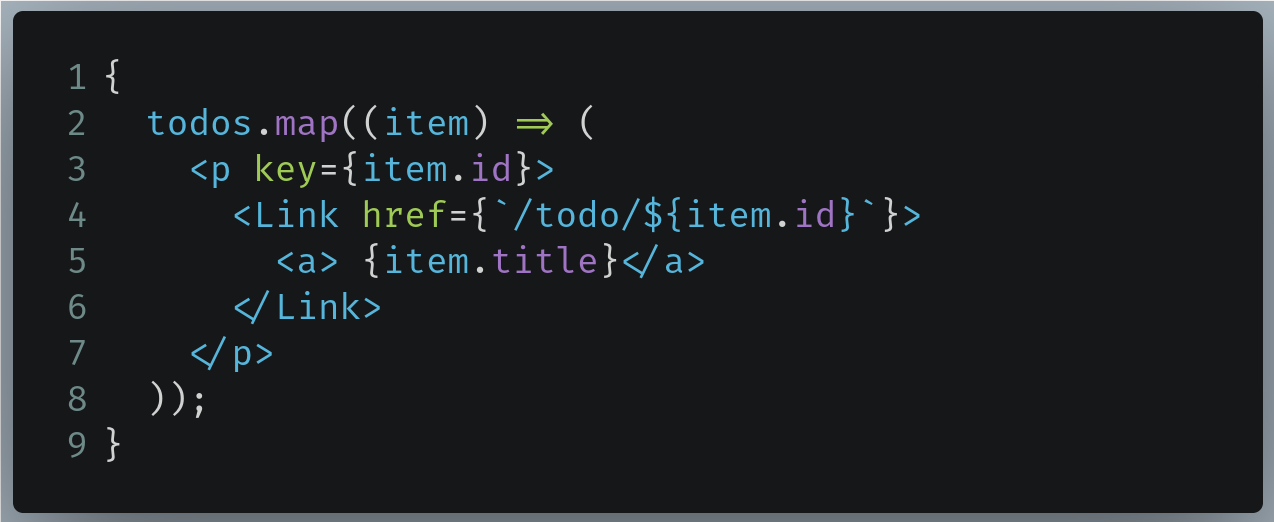 Code to replace with in /pages/index.js
-
Line 4: Use the Link component to redirect the user to the /todo route along with the id field as a parameter. The Link element in Next.js is similar to the a tag.
-
Line 5: Display the title field of the item.
Run the code. This will be the result:
 Output of the code
As you can see, our code works! Our items redirect us to the appropriate location. However, when we click on any of these items, we encounter an error. This is because we have not handled these routes yet.
All that is left is to implement dynamic routing, which is a piece of cake thanks to the Next.js framework. In the next section, we will apply nested and dynamic routing via the getServerSideProps() function.
Fetching with getServerSideProps
The getServerSideProps function uses server-side generation to fetch data. This is because we want to fetch our selected to-do item at the time of the request.
In your /pages directory, create a folder called /todo. Within the /pages/todo folder, create a file called [id].js.
In /pages/todo/[id].js, write the following piece of code:
export default function TodoInfo({ todo }) {
  return (
    <div>
      <h1>{todo.title}</h1>
      <input type="checkbox" readOnly checked={todo.completed}></input>
      <label for="completed">Completed</label>
    </div>
  );
}

export const getServerSideProps = async (context) => {
  const res = await fetch(
    `https://jsonplaceholder.typicode.com/todos/${context.params.id}`
  );
  const todo = await res.json();

  return {
    props: {
      todo,
    },
  };
};-
Line 1: Receive the todo object that we received as props from the getServerSideProps function.
-
Lines 4-6: Display the properties of the todo object. If the completed field is true, then the checkbox should be checked.
-
Line 11: Exporting the getServerSideProps method. The context parameter in this function contains information about the URL and other properties that you can learn more about in the docs.
-
Line 12: Fetching data about the specific to-do item. We can do this by using the context.params object that contains the values of the parameters of the URL. Here, we are accessing the value of the id parameter.
-
Line 19: Export the fetched data as props.
Run the code. This will be the result:
 Output of the code
Great! As you can see, our code works. We are able to click any item, which gives us further information about the particular to-do item.
In the next section, we will learn about the getStaticPaths function.
Generating paths with getStaticPaths
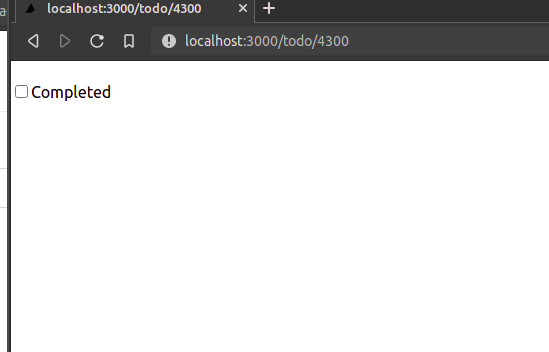
Although our website functions as intended, there is still one problem: What if the user tries to navigate to a to-do item that does not exist? For example, what if they try to go to localhost:3000/todo/4300? Obviously, in our example, there is no item with the id of 4300. In this case, we want to throw a 404: Page not found error.
 We want to throw an error here instead.
To solve this problem, we need to tell Next.js about what paths should be rendered. This is where getStaticPaths comes in. This function uses static-side generation and is to be used in tandem with the getStaticProps method.
In /pages/todo/[id].js, find the following piece of code:
export const getServerSideProps = async (context) => {
  const res = await fetch(
    `https://jsonplaceholder.typicode.com/todos/${context.params.id}`
  );
  const todo = await res.json();

  return {
    props: {
      todo,
    },
  };
};
Rename the getServerSideProps function to getStaticProps like so:
export const getStaticProps = async (context) => {
  const res = await fetch(
    `https://jsonplaceholder.typicode.com/todos/${context.params.id}`
  );
  const todo = await res.json();

  return {
    props: {
      todo,
    },
  };
};
As a final step, write the following piece of code at the end of pages/todo/[id].js:
export const getStaticPaths = async () => {
  const res = await fetch(`https://jsonplaceholder.typicode.com/todos/`);
  const todos = await res.json();

  const paths = todos.map((item) => ({
    params: { id: item.id.toString() },
  }));
  return {
    paths,
    fallback: false,
  };
};-
Line 1: Export the getStaticPaths function.
-
Line 5: Create a paths array that contains the id fields of all of the to-do items in the API.
-
Line 9: Return the paths object. This essentially tells Next.js about what paths will be rendered.
-
Line 10: The fallback flag tells Next.js to throw an error if the user goes to an unsupported path (e.g. if they try to get a to-do item with the id of 4300 even though it does not exist).
Run the code. This will be the result:
 Output of the code
As you can see, our code output is the same as before.
But try going to localhost:3000/todo/250. Since there is no item with the id of 250, it will now throw an error.
 Throwing an error on an unsupported page
Great! As you can see, our code works.
We can even decrease the number of generated paths through the getStaticPaths function. Go to /pages/todo/[id].js and find the following piece of code:
- Line 7: Only two static paths will be generated. Otherwise, a 404: Page not found error will be thrown.
Run the code. This will be the result:
 Output of the code
Great! As you can see, we were successful. Only two dynamic paths were generated.
In the end, /pages/todo/[id].js should look like this:
export default function TodoInfo({ todo }) {
  console.log(todo);
  return (
    <>
      <h1>{todo.title}</h1>
      <input type="checkbox" readOnly checked={todo.completed}></input>
      <label for="completed">Completed</label>
    </>
  );
}

export const getStaticProps = async (context) => {
  const res = await fetch(
    `https://jsonplaceholder.typicode.com/todos/${context.params.id}`
  );
  const todo = await res.json();

  return {
    props: {
      todo,
    },
  };
};
export const getStaticPaths = async () => {
  const res = await fetch(`https://jsonplaceholder.typicode.com/todos/`);
  const todos = await res.json();

  const paths = todos.map((item) => ({
    params: { id: item.id.toString() },
  }));

  return {
    paths,
    fallback: false,
  };
  //to only show two paths:
  /* return {
    paths: [{ params: { id: "1" } }, { params: { id: "2" } }],
    fallback: false,
  }; */
};
Further resources
- http://github.com/tksharma/blogs/next-file-routing
- http://github.com/tksharma/blogs/next-data-fetching
Conclusion
Next.js has become a top contender in the blog framework market, and rightfully so. It not only allows us to build performant and scalable React apps, but it also implements routing without any hassle to the developer.
Comments