
Learn CI/CD with GitHub Actions to Deploy a Nestjs App to Heroku
GitHub Actions is a continuous integration and continuous delivery (CI/CD) platform that allows you to automate your build, test, and deployment pipeline. You can create workflows that build and test every pull request to your repository, or deploy merged pull requests to production.
GitHub Actions is a CI/CD tool for the GitHub flow. You can use it to integrate and deploy code changes to a third-party cloud application platform as well as test, track, and manage code changes. GitHub Actions also supports third-party CI/CD tools, the container platform Docker, and other automation platforms.
GitHub Actions
GitHub Actions is a continuous integration and continuous delivery (CI/CD) platform that allows you to automate your build, test, and deployment pipeline. It makes it easy to automate all your software workflows. You could do anything such as build, test, deploy your code on Github absolutely, also you could assign code reviews, manage branches, and so on and so on. You guys can create workflows that build and test every pull request to your repository or deploy merged pull requests to production.
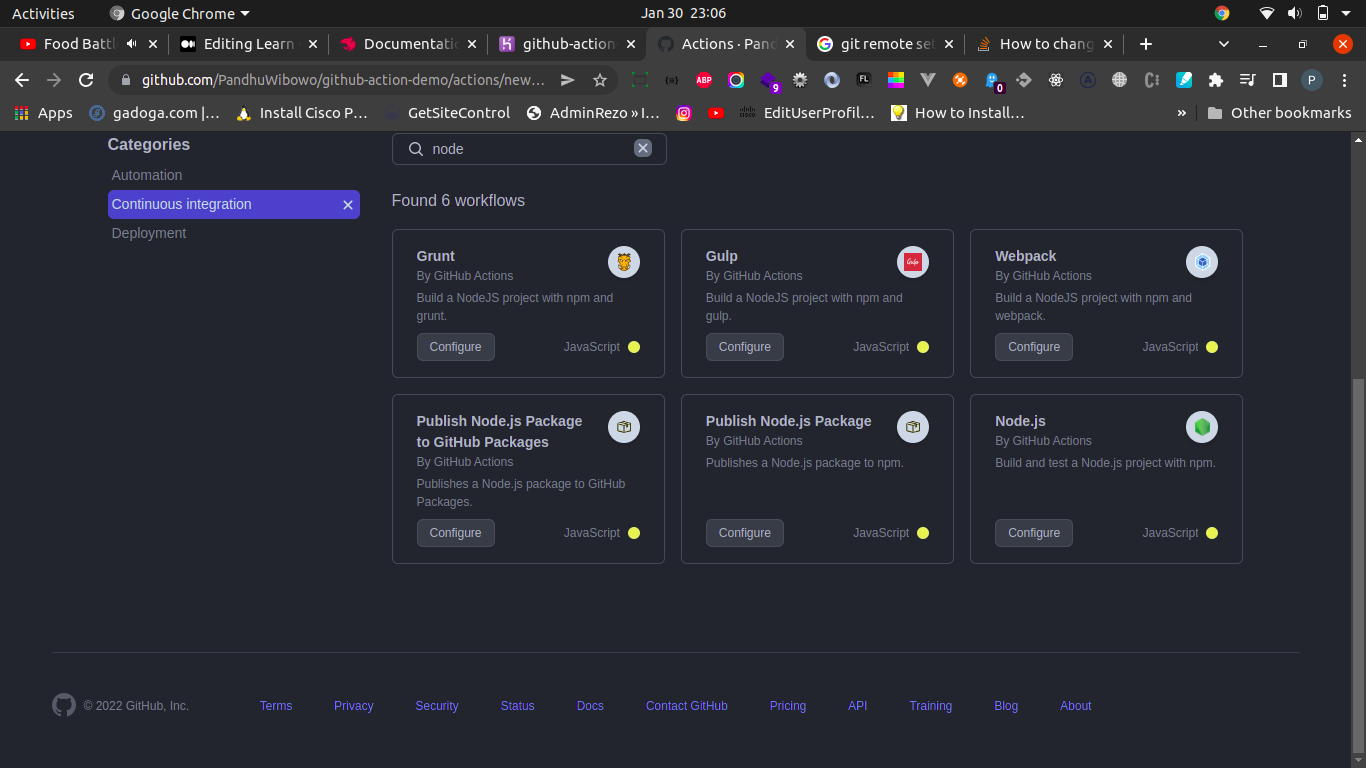
Github Actions is available in each repository. When you look up your repository, you can see the tab Actions . GitHub provides Linux, Windows, and macOS virtual machines to run your workflows. For this article, I’m going to share about the deployment phase.
Let’s dig in….
Preparation
- Open your text editor, I will use Visual Studio Code.
- Open your terminal or command line
- Create a new nestjs project
- Create a new app on heroku (but if you don’t have the account, you should be created first)
- Create new repo, push your done project into the repo (include the unit test)
- Create file of .yml, put the name of it. I give as production.yml on .github/workflows, then commit and click the button.
- Etc.
Open The Text Editor
Open The Terminal

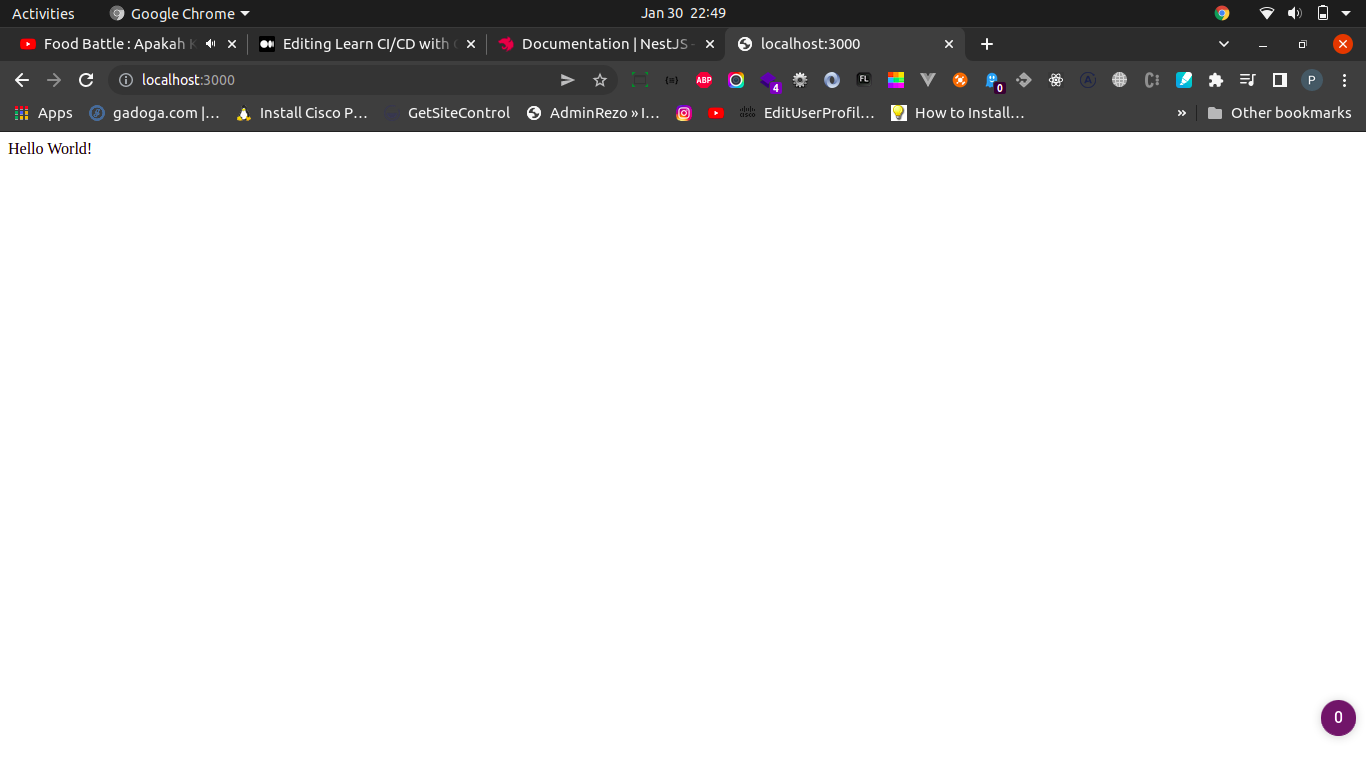
Create new Nestjs App
There are two ways to install the nestjs.
With Nest CLI
npm i -g @nestjs/cli
nest new project-name
Alternatives
git clone https://github.com/nestjs/typescript-starter.git project
cd project
npm install
npm run start
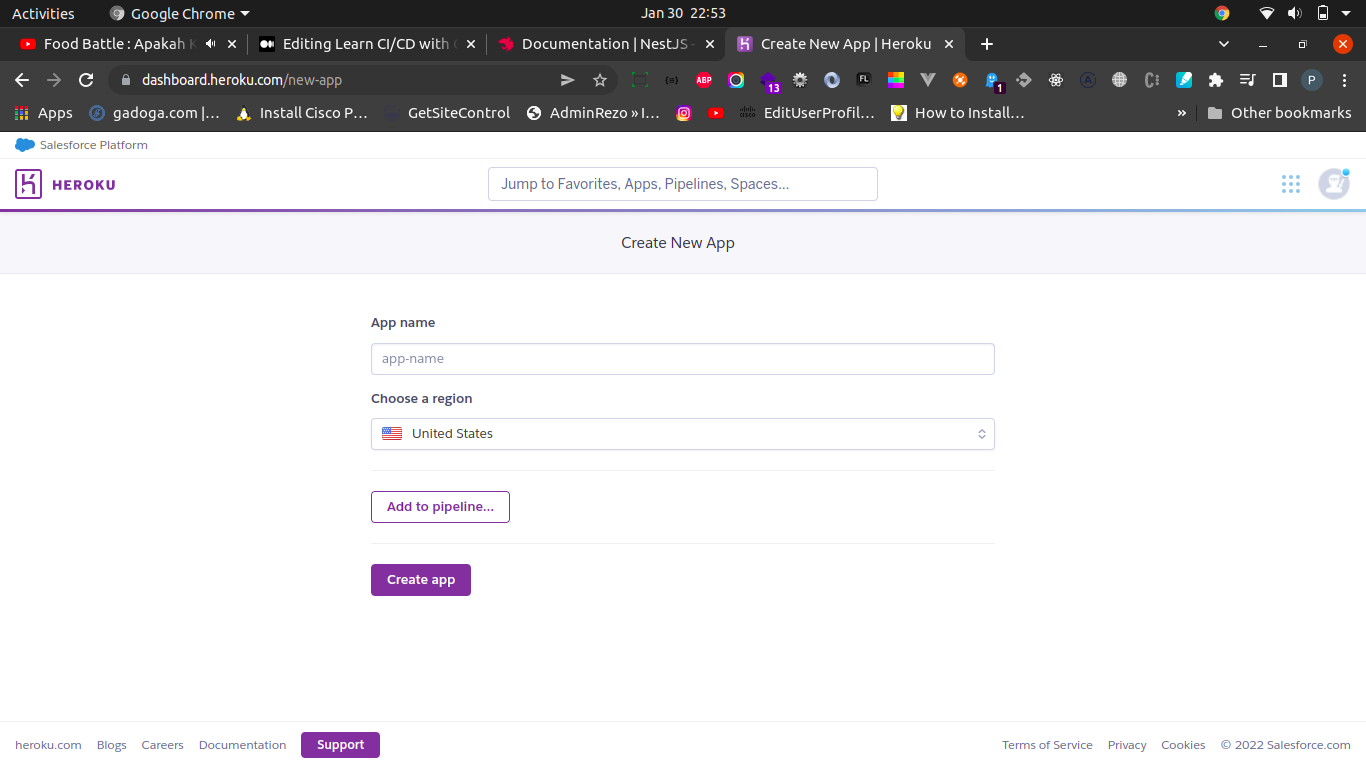
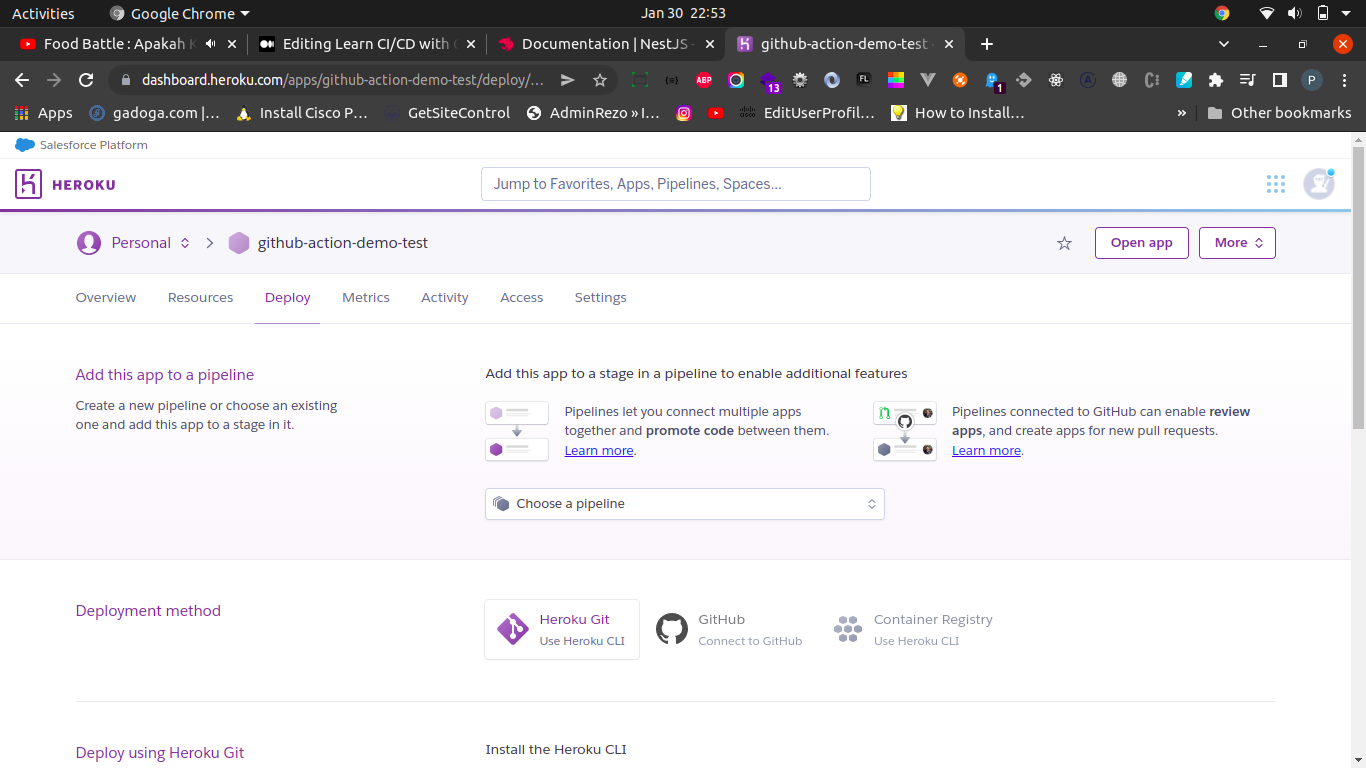
Create New App on Heroku

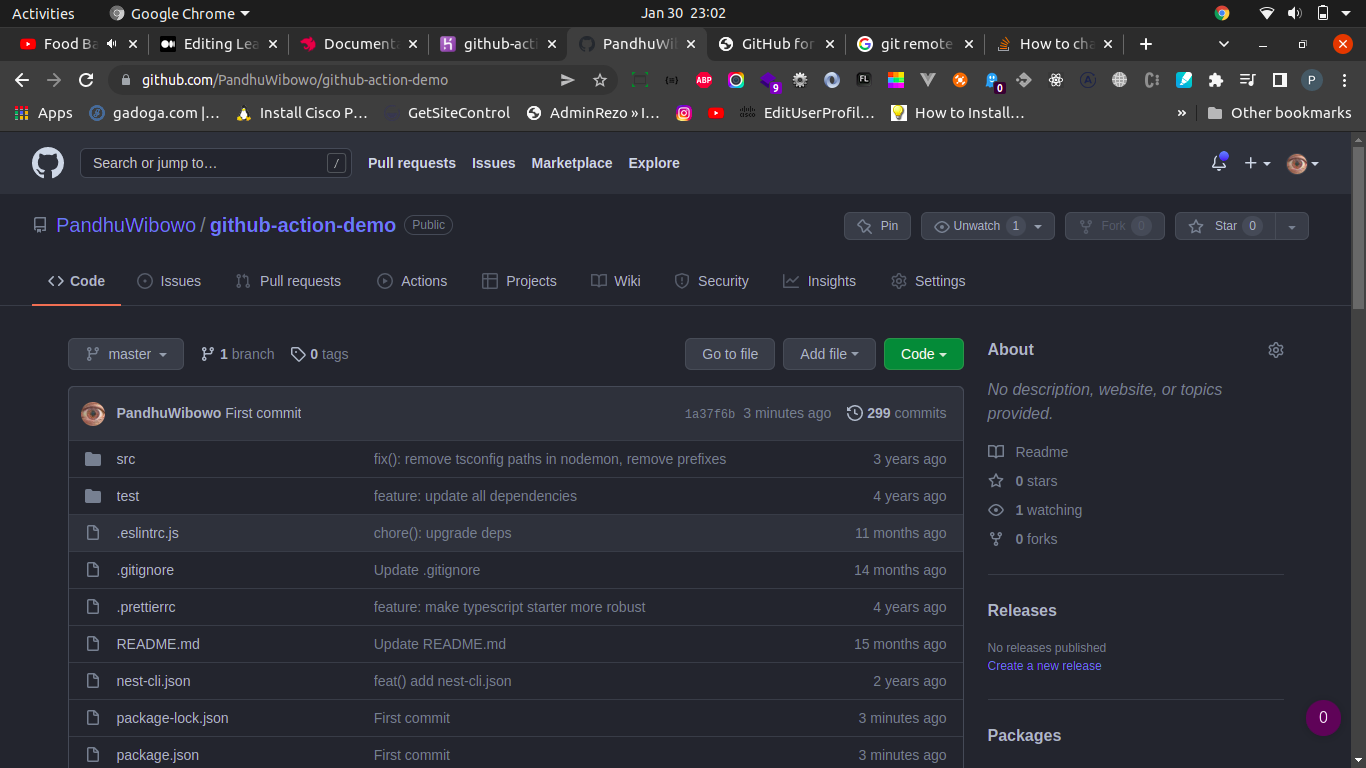
Create New Repo
Push your project from local.
Create file of .yml, put the name of it. I give as production.yml
- Click Actions tab.
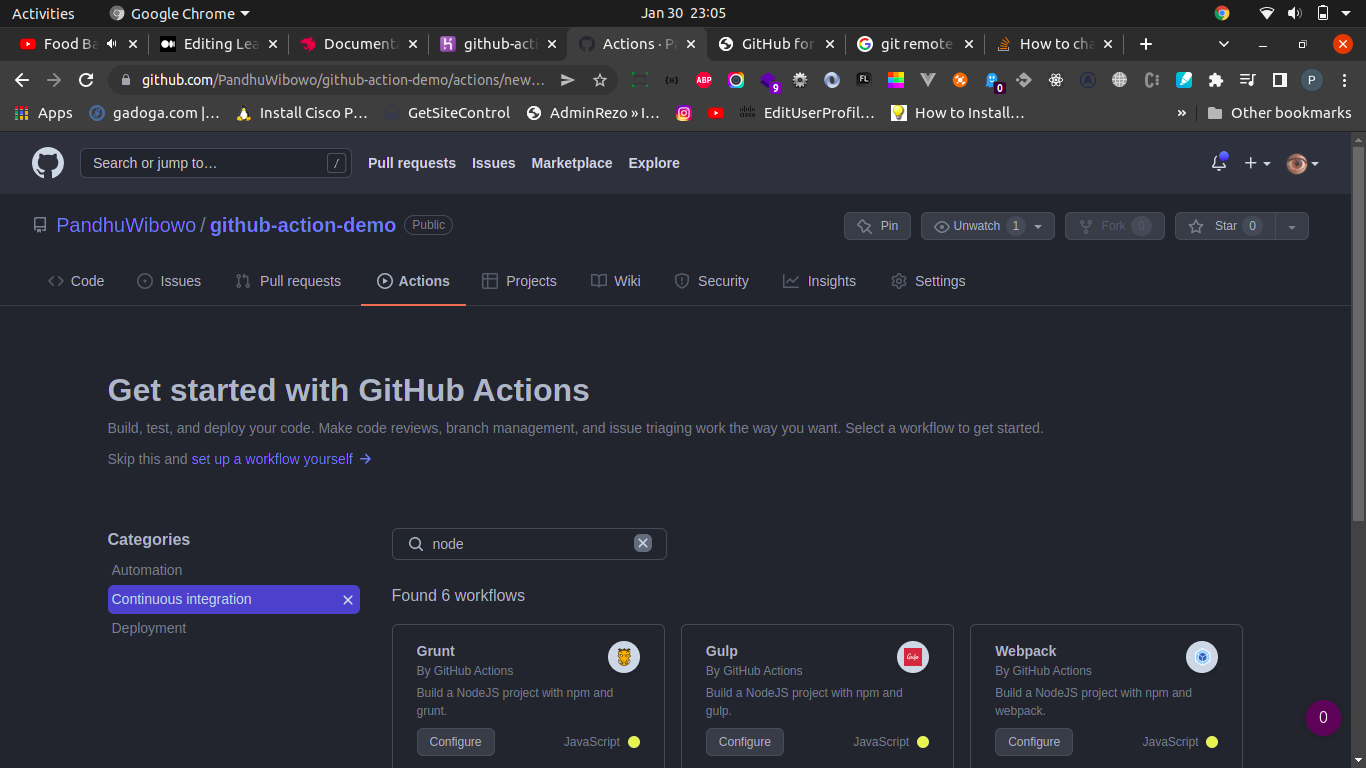
- Add your script production.yml
This workflow will do a clean installation of node dependencies, cache/restore them, build the source code and run tests across different versions of node# For more information see: https://help.github.com/actions/language-and-framework-guides/using-nodejs-with-github-actionsname: Node.js CIon:
  push:
    branches: [ master ]
  pull_request:
    branches: [ master ]jobs:
  build:
    runs-on: ubuntu-latest
    strategy:
      matrix:
        node-version: [12.x, 14.x, 16.x]
        # See supported Node.js release schedule at https://nodejs.org/en/about/releases/steps:
    - uses: actions/checkout@v2
    - name: Use Node.js ${{ matrix.node-version }}
    uses: actions/setup-node@v2
    with:
      node-version: ${{ matrix.node-version }}
      cache: 'npm'
    - run: npm ci
    - run: npm run build --if-present
    - run: npm test
  deploy: ## <-- this is the new stuff
    needs: build
    runs-on: ubuntu-latest
    steps:
    - uses: actions/checkout@v2
    - uses: akhileshns/heroku-deploy@v3.12.12
      with:
        heroku_api_key: ${{secrets.HEROKU_API_KEY}}
        heroku_app_name: ${{secrets.HEROKU_APP_NAME}}
        heroku_email: ${{secrets.HEROKU_EMAIL}}
remote_branch: master- Please concern to this package
https://github.com/AkhileshNS/heroku-deploy : akhileshns/heroku-deploy@v3.12.12
- Add Secret, Environment variables on GitHub.
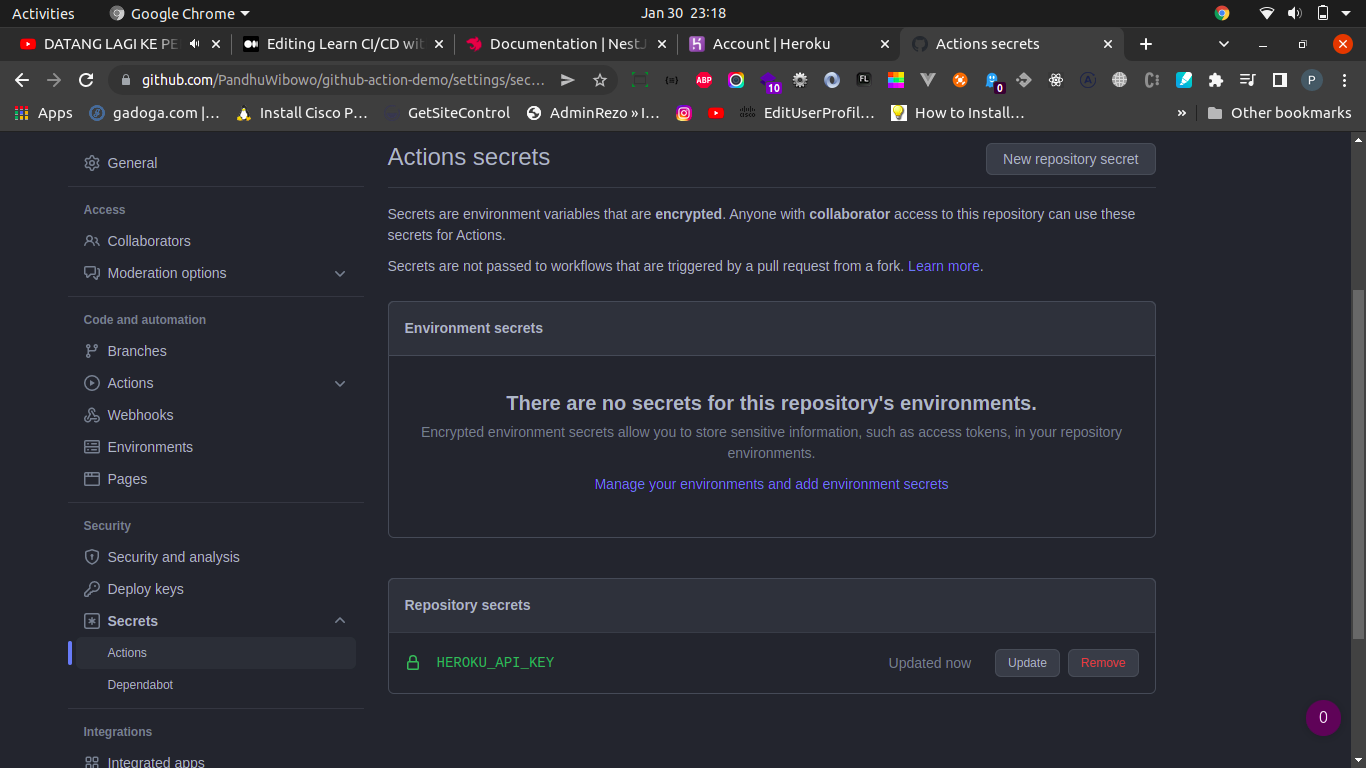
- HEROKU_API_KEY
- HEROKU_APP_NAMEHEROKU_APP_NAME
- HEROKU_EMAIL
- Pull the production.yml into local machine.
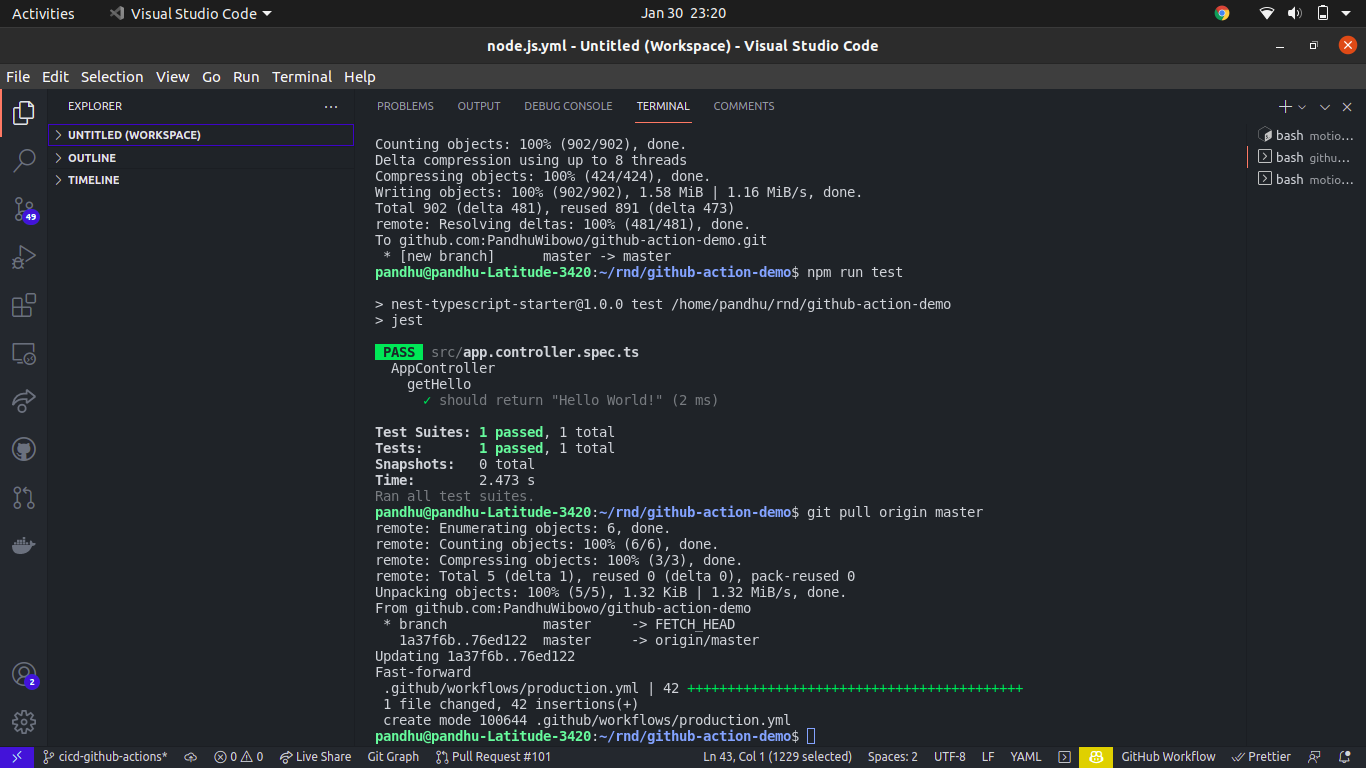
- Create new branch, such as
demo
git checkout -b demo
- Push to the repository
git push origin demo
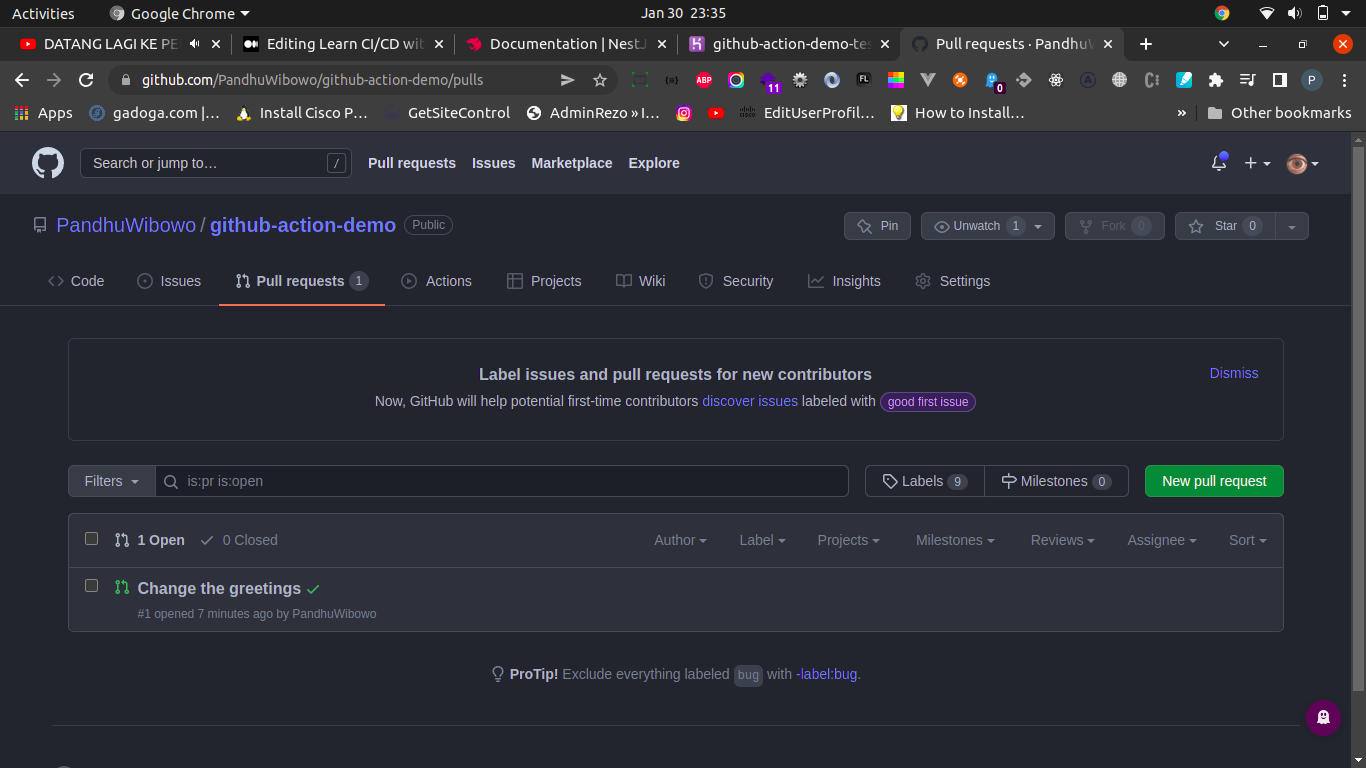
- Create PULL REQUEST to the
master, you should modify in your local, and push again to make changes.

- Merge request will be processing

If you choose one, click the Details will be displayed like this.
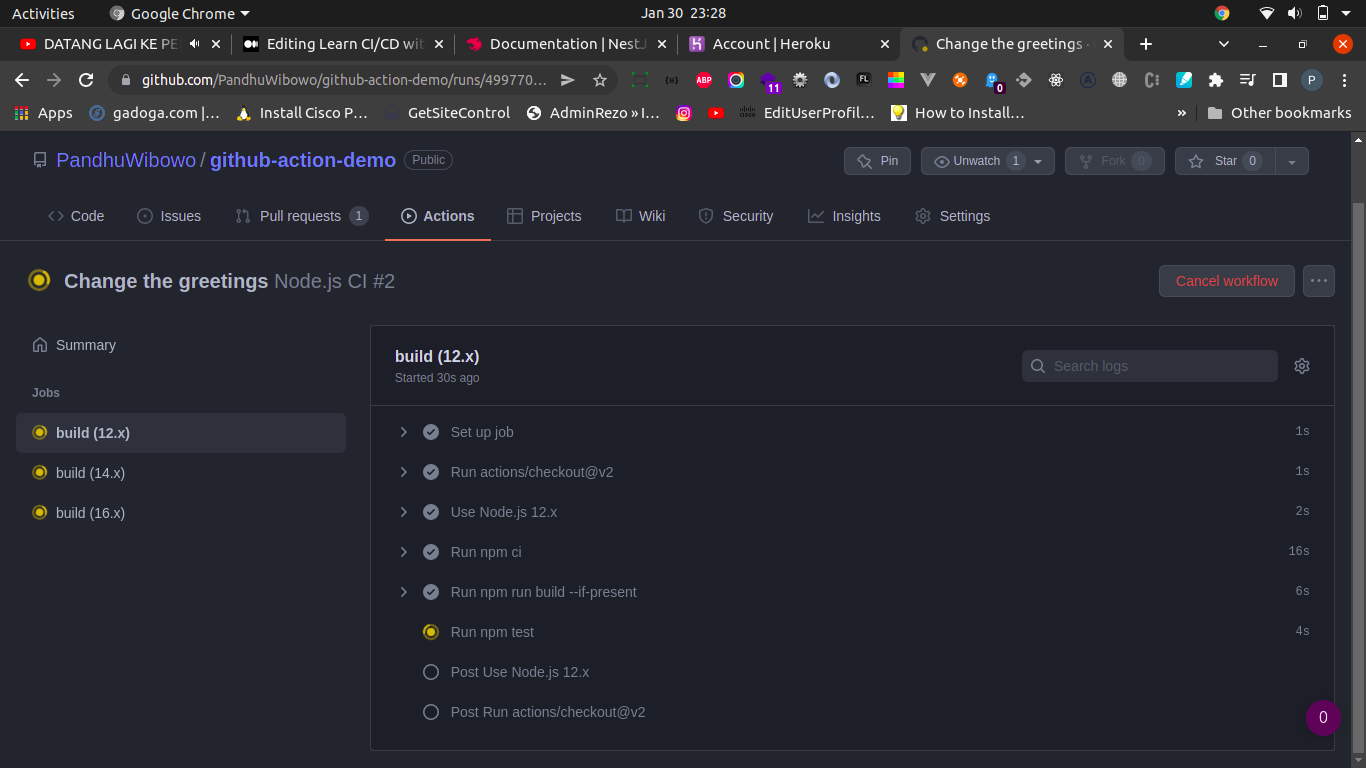

The process in above still working.
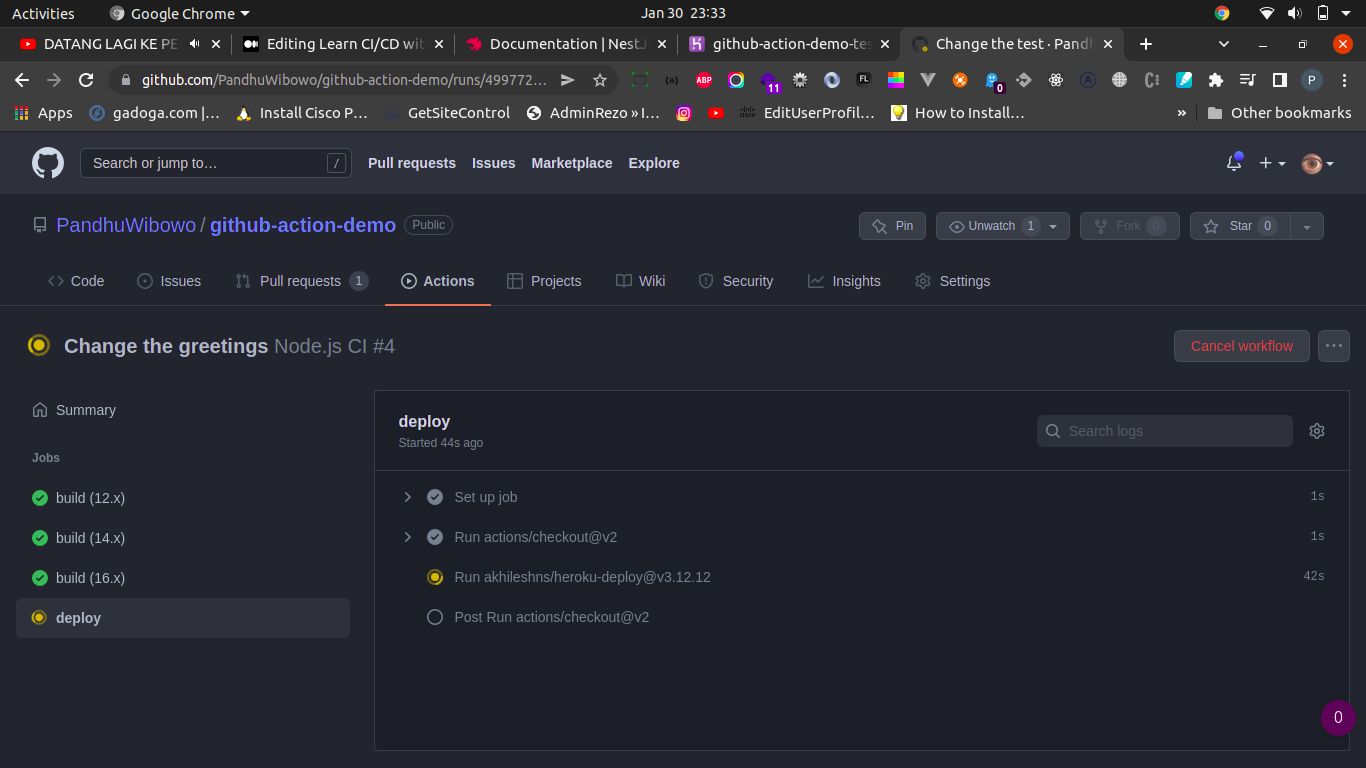
The image shows you that the project is deploying.
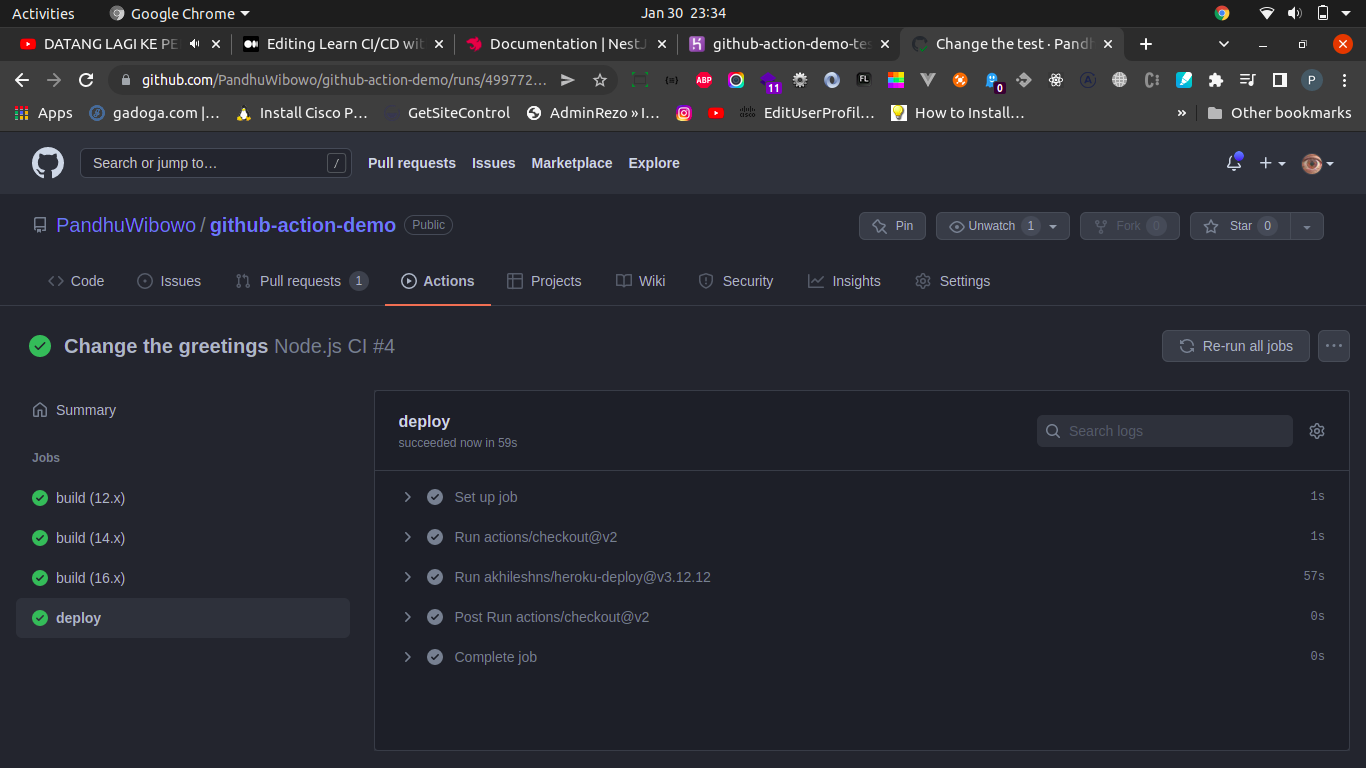
And deployments has done.
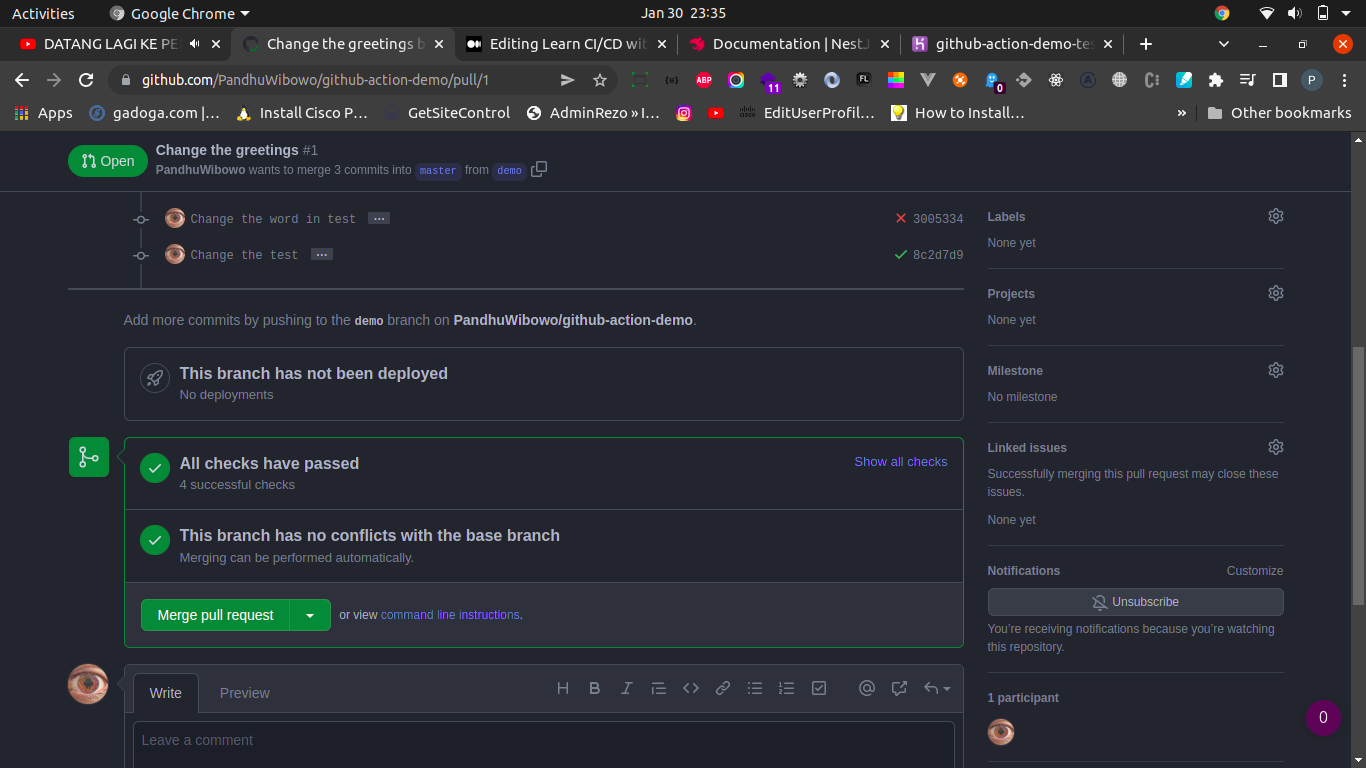
Click Merge pull request .
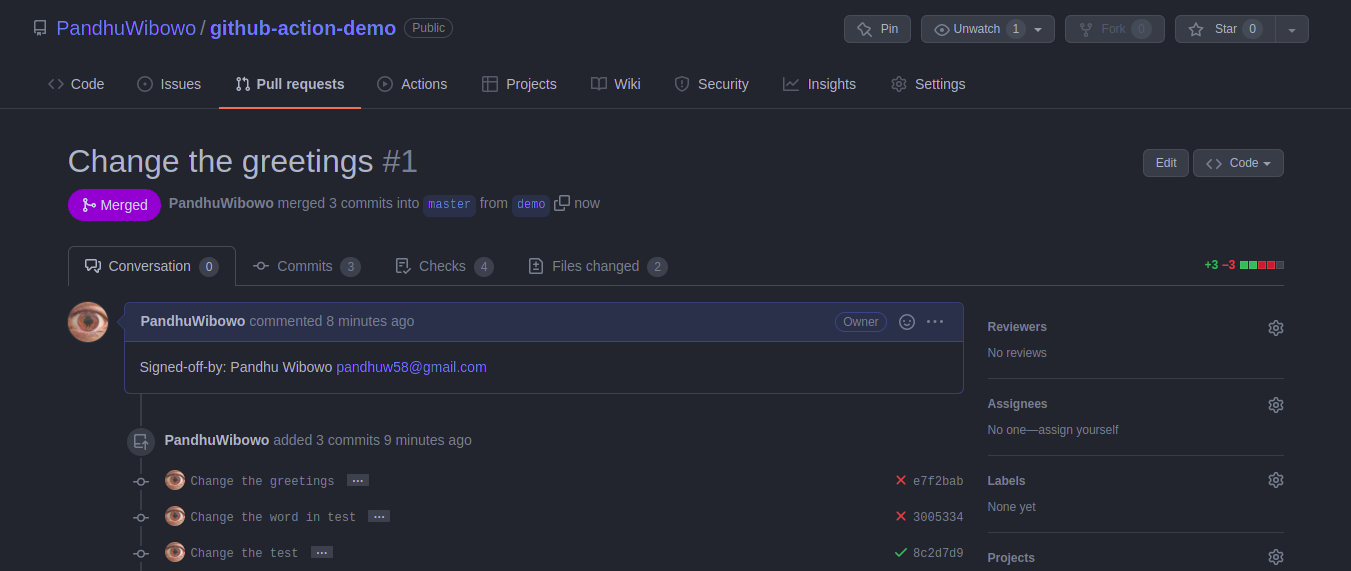
Pull request has been merged.
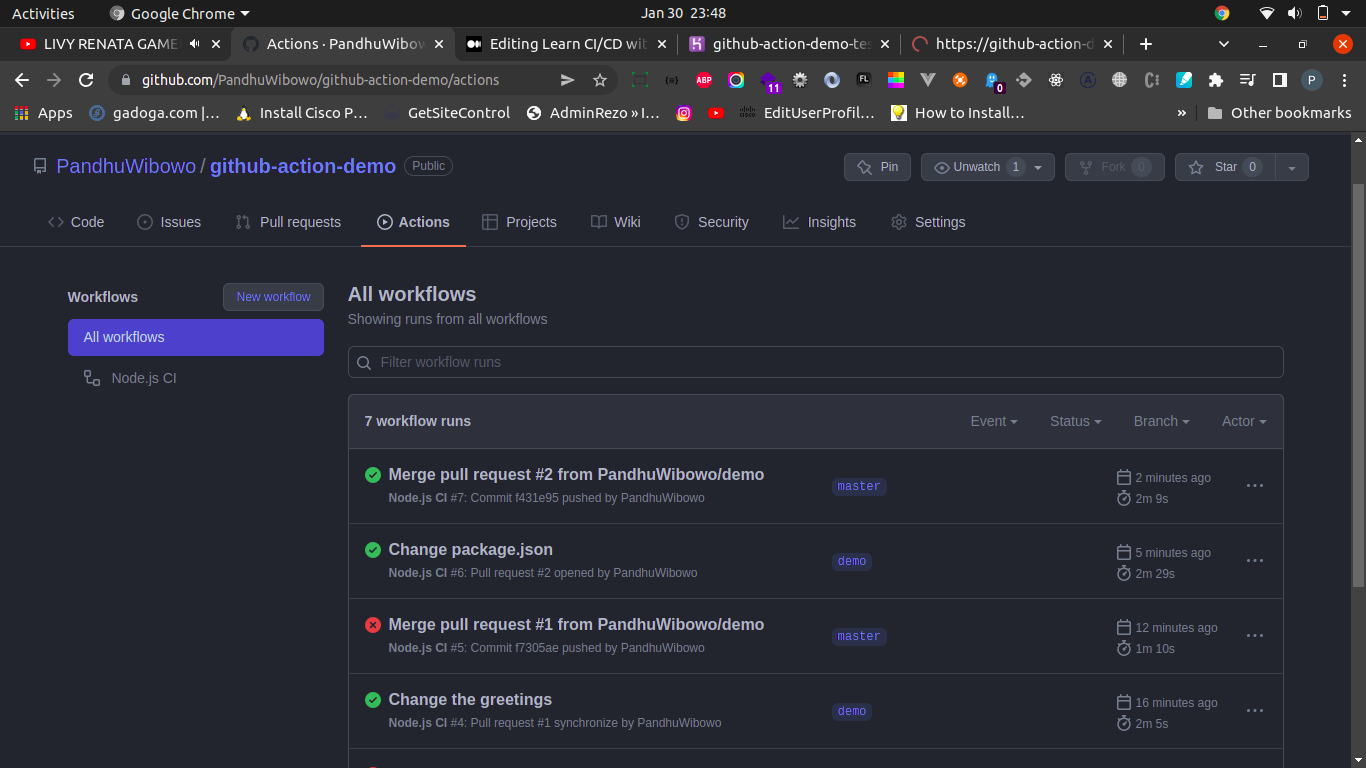
The pipeline successfully deployed.

Comments