
Deploy React App to AWS CloudFront with GitHub Actions(CI/CD)
Single Page Application(SPA) frameworks like React, Angular, etc. are being widely used to create interactive websites. These web application can be delivered with low-latency by severing it from CDN services like AWS CloudFront. In this tutorial we’ll go through the steps of Deploying a React app to AWS CloudFront and automate this process on every commit using GitHub Actions.
Here, we will be deploying a React app but you can use any other framework that serve static content like Angular , Vue, etc. I will be creating a very basic React app created using npx create-react-app my-app command.
Table of Content
Step 1 : Setup React App for Production
Step 2 : Setup S3 bucket and upload the content
Step 3 : Creating the AWS CloudFront Distribution
Step 4 : Configure AWS Credential in GitHubStep 5 : Create workflow.yml to define GitHub Actions
Step 1 : Setup React App for Production
We need to build the React App before deploying it to AWS. Run npm run build in the root directory of the React Application. This command combines all the React components and other necessary files into single file called index.js inside build folder. This reduces the HTTP network requests on browser which results into less loading time. We will upload the content of only build folder in our S3 bucket.
Step 2 : Setup S3 bucket and upload the content
- Login to your AWS Console and go to S3 Service
- Click on Create Bucket
- Make the following changes and keep all the other properties as default
Note: Make sure you put unique name for the bucket. Else, it won’t allow you to create the S3 bucket

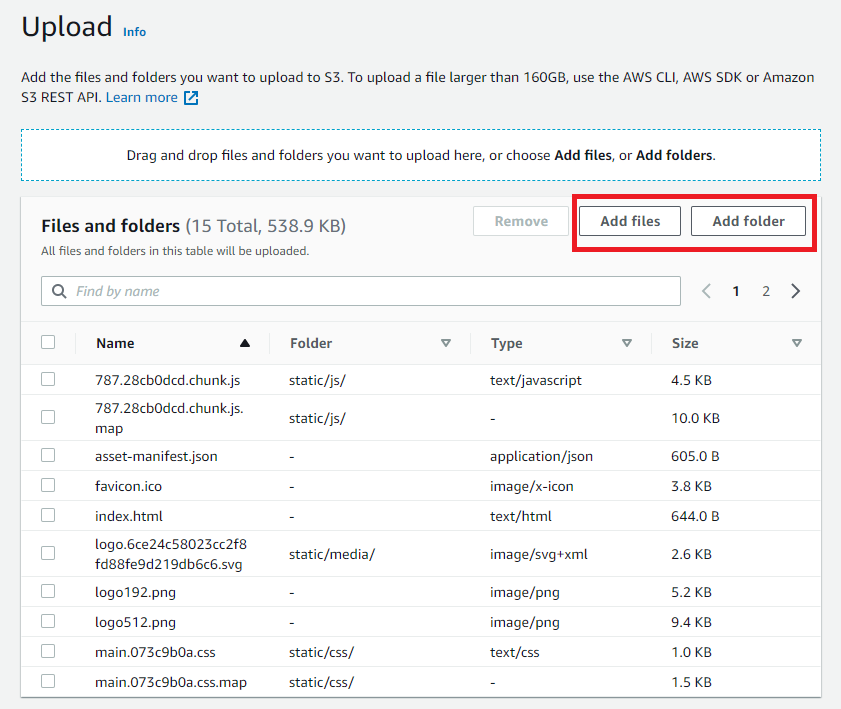
Create S3 bucket to host React App
- Open the bucket and click on Upload
- Upload the content of build folder created in Step-1
- Click on properties tab in the bucket and enable Static Website Hosting
By Enabling Static Hosting you can specify the index page that is served when anyone request your domain. Here we are configuring both index and error page as index.html


Enable static hosting on S3
Step 3 : Creating the AWS CloudFront Distribution
- Go to CloudFront service and click on Create Distribution
- Make the following changes in the “Origin” and “Settings” section

Create CloudFront Distribution
Here we are creating a new OAI for our CloudFront distribution. This create a S3 bucket policy that enables CloudFront to access the bucket. Also, we are setting the Default root object to index.html which works same as setting the index page of a website.
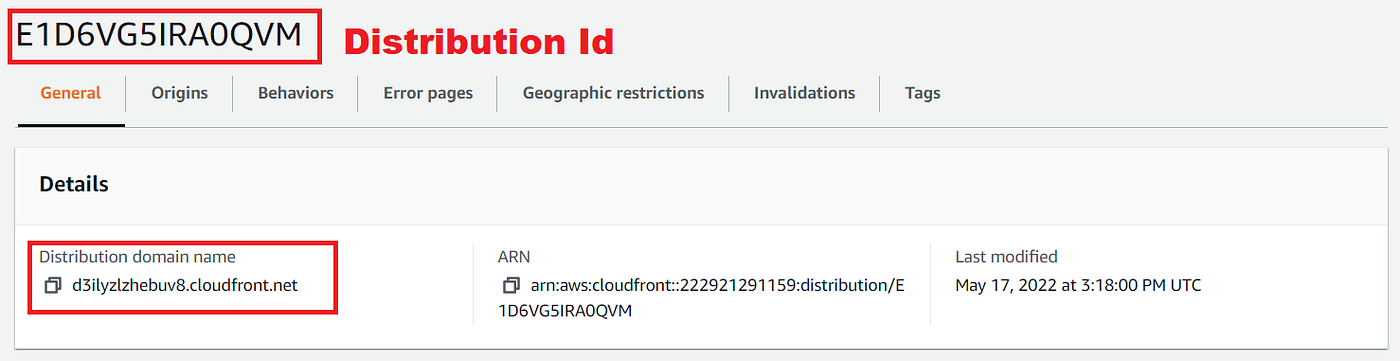
- Once the deployment is completed you can copy the Distribution domain name and paste it in the browser. If everything went well you will be able to see the React App.
Automating the deployment
We will be using GitHub Actions to automatically deploy our change when we push it to the master branch. For Github Actions we define a workflow.yml file in our project which will be used to run all the step required for building the project and deploying it to AWS. If you are not familiar with GitHub actions I would recommend to watch this video to get an overview. Also, we need to commit our code on GitHub to use GitHub actions.
Step 4 : Configure AWS Credential in GitHub
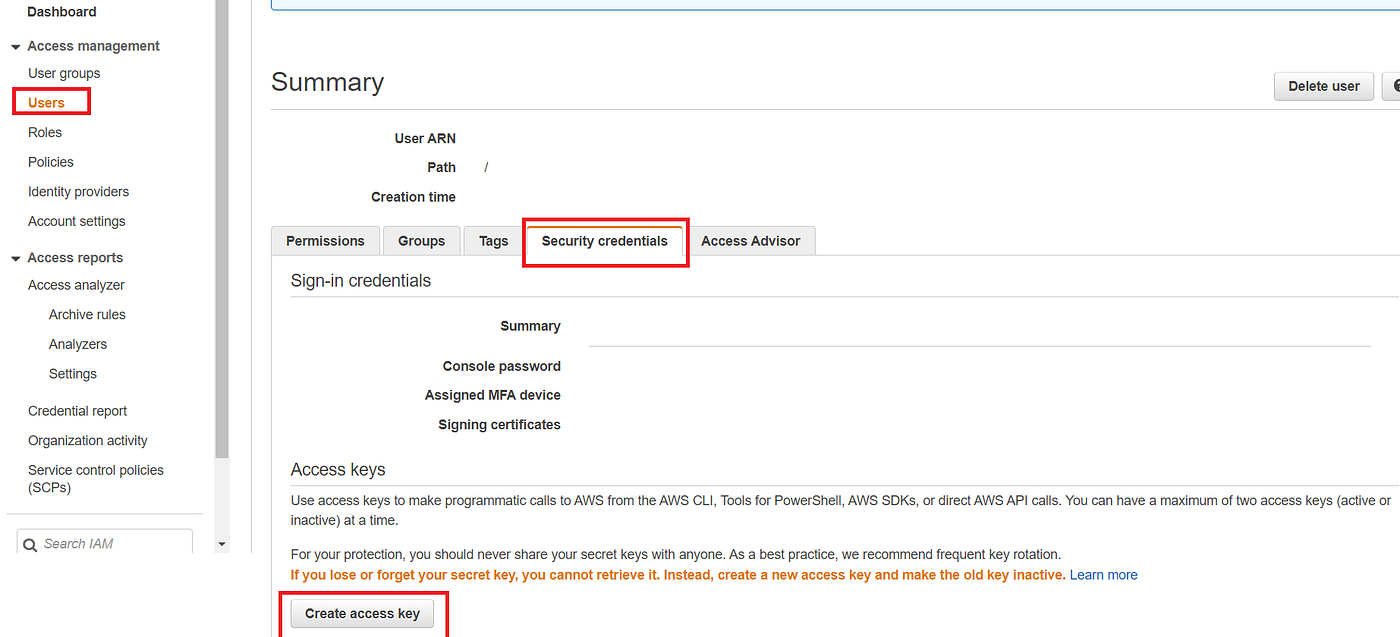
Note: I recommend to create separate user with only S3 and CloudFront permission.
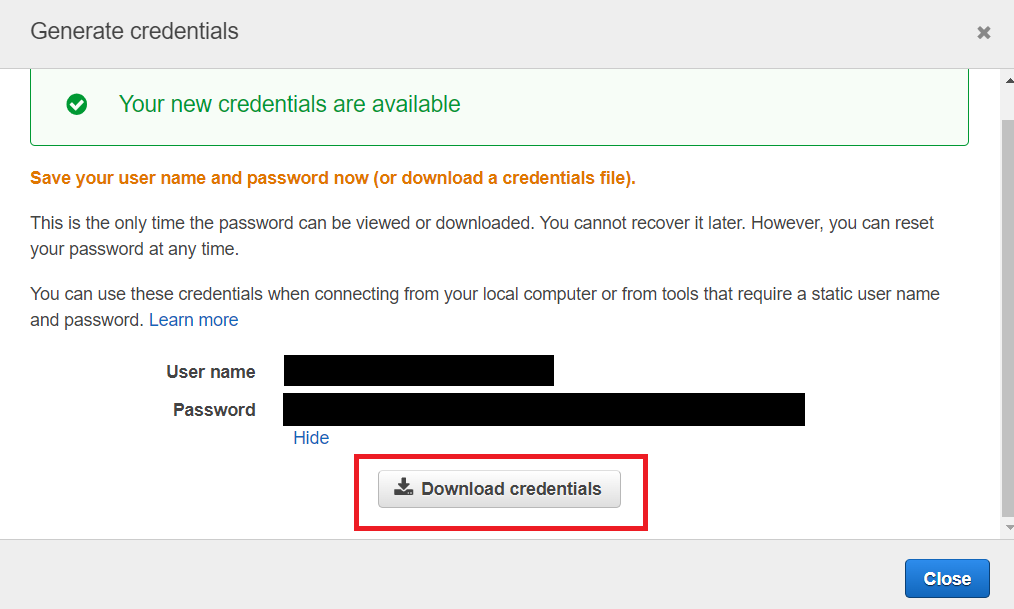
- You can go to IAM Service in AWS Console and create new credentials(Access ID and Secret Key) for the user or use the one you already have.
- Go to Setting tab in your GitHub account and click on Actions under secrets


Configure secrets for GitHub Actions
- Click on New Repository Secret and configure following secrets
AWS_ACCESS_KEY_ID
AWS_SECRET_ACCESS_KEY
AWS_DISTRIBUTION_ID
AWS_REGION
Note: We can get AWS_DISTRIBUTION_ID from CloudFront distribution
Step 5 : Create workflow.yml to define GitHub Actions
- Go to Actions tab and select Simple Workflow


- Paste the following code in the workflow.yml file and click on Start Commit and Commit new file
Github Actions Workflow
name: s3-depl

on:
  push:
    branches:
      - master

jobs:
  build:
    runs-on: ubuntu-latest
    steps:
      - uses: actions/checkout@v2
      - name: Configure AWS Credentials
        uses: aws-actions/configure-aws-credentials@v1
        with:
          aws-access-key-id: ${{ secrets.AWS_ACCESS_KEY_ID }}
          aws-secret-access-key: ${{ secrets.AWS_SECRET_ACCESS_KEY }}
          aws-region: ${{ secrets.AWS_REGION }}
      - name: Build React App
        run: npm install && npm run build
      - name: Deploy app build to S3 bucket
        run: aws s3 sync ./build s3://my-cicd-react-app --delete
      - name: Invalidate cache
        run: aws cloudfront create-invalidation --distribution-id ${{ secrets.AWS_DISTRIBUTION_ID }} --paths "/*"
line 3–6 we defined actions to run the jobs when we push the code to the master branch. GitHub spins up a VM to run the steps defined in the jobs.
line 10 we define environment to run the jobs. We can also specify windows and macOS as other options.
line 13–18 configured AWS Credentials
line 19–20 specified command to to install dependencies and build the react app
line 20–21 upload the content of the build folder to S3 bucket(change the bucket name in the code)
line 23–24 Invalidate the CloudFront distribution to serve the changed file on further requests(every time there is change in the file we need to clear the cache of servers otherwise it will serve old files)
We can run all the command that we would normally run in our AWS CLI thanks to aws-actions we defined in line 14
Finally change few line of code and commit the change. Once you commit go to actions tab again and click on the workflow run and further click on the build.
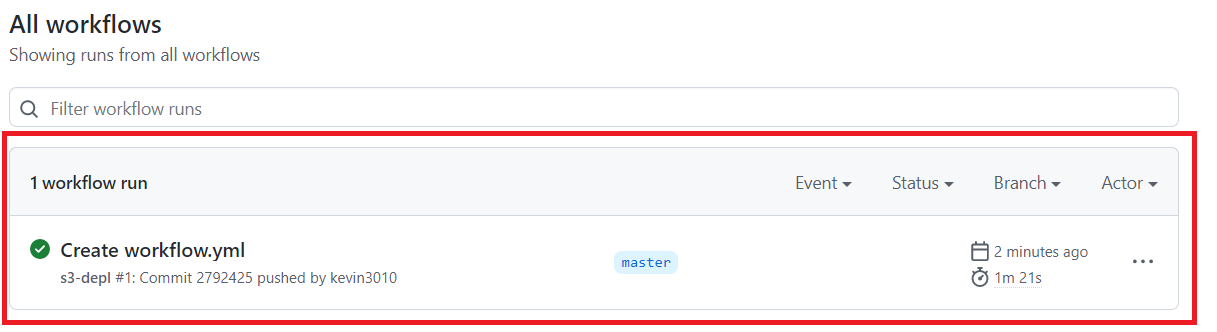

You’ll find that all the step are executed that we defined in the workflow.yml file. Here you can also view the error log if there is any build failure.

Conclusion
GitHub Actions is a great tools to automatically deploy the code on server. It helps developers to focus on code and automate the repetitive task like deployment and running the test cases. Further, CDN services like AWS CloudFront can reduce the latency in serving application to client reducing the bounce rate from the webpage.
Also, AWS have its own service for CI/CD task called AWS CodeDeploy. I’ll try to write an article if I get the chance to use it.
Please like and share the article if it added some value to you. Feel free to connect with me on linkedin.
Comments