
Deploy Next JS application to Netlify
https://github.com/achingachris/next-bootstrap-template
By default, NextJS applications are easily deployable on Vercel with zero configurations. That doesn't mean you shouldn't explore what other platforms have to offer.
To deploy a NextJS application, simply follow the steps below. If you want to start straight up without the hustle, use the button below:
Deploy on Netlfiy
- Create a Netlify Account
- On your browser, go to app.netlify.com/signup to create your Netlify account.
- Set Your Next project Ready
- Install @netlify/plugin-nextjs dependency on your project:
npm i @netlify/plugin-nextjsOn the root of your NextJS project, create a netlify.toml file and the following code in the file:
[build]
  command = "npm run build"
  publish = ".next"

[[plugins]]
  package = "@netlify/plugin-nextjs"
Ensure to update and commit changes on GitHub
Deploy on Netlify To deploy, head over to your Netlify dashboard, app.netlify.com and create on the Add New Site button in the Site tab.
Deploy Next JS application to vercel
Seeing that the fantastic creators of Next.js created Vercel, it's the smartest choice to go with Vercel as your Next hosting.
They make the process super easy!
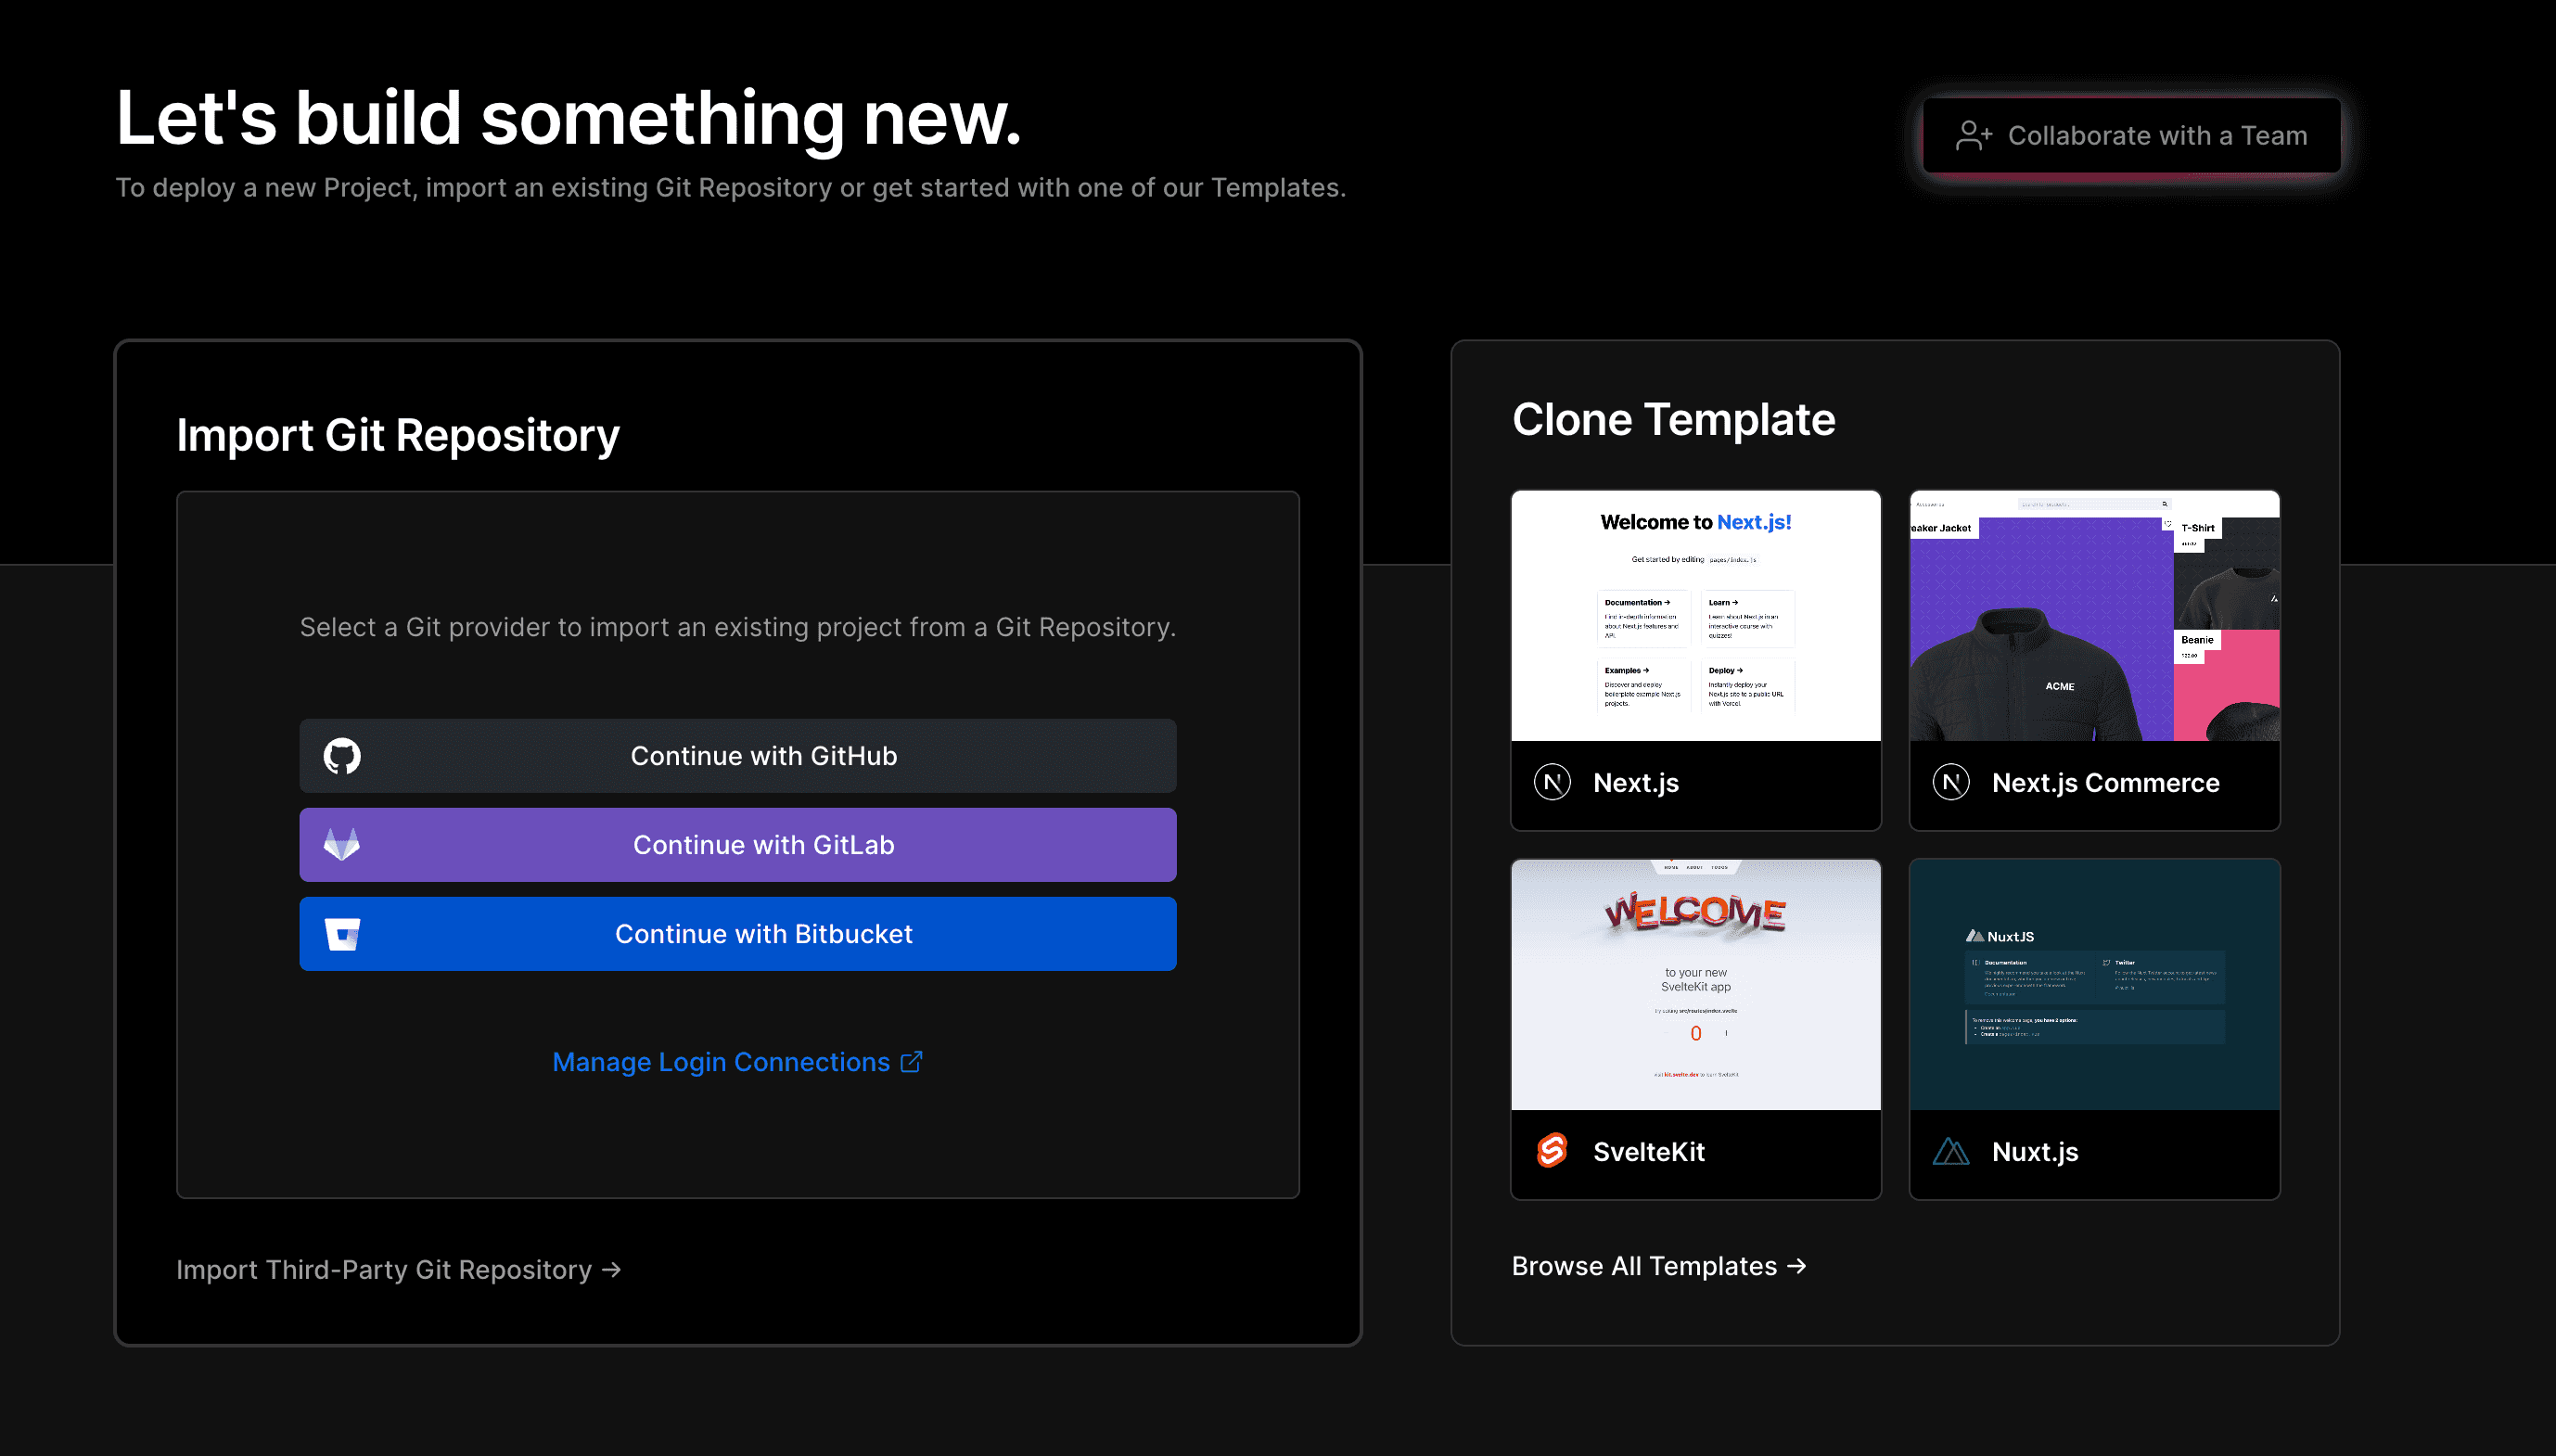
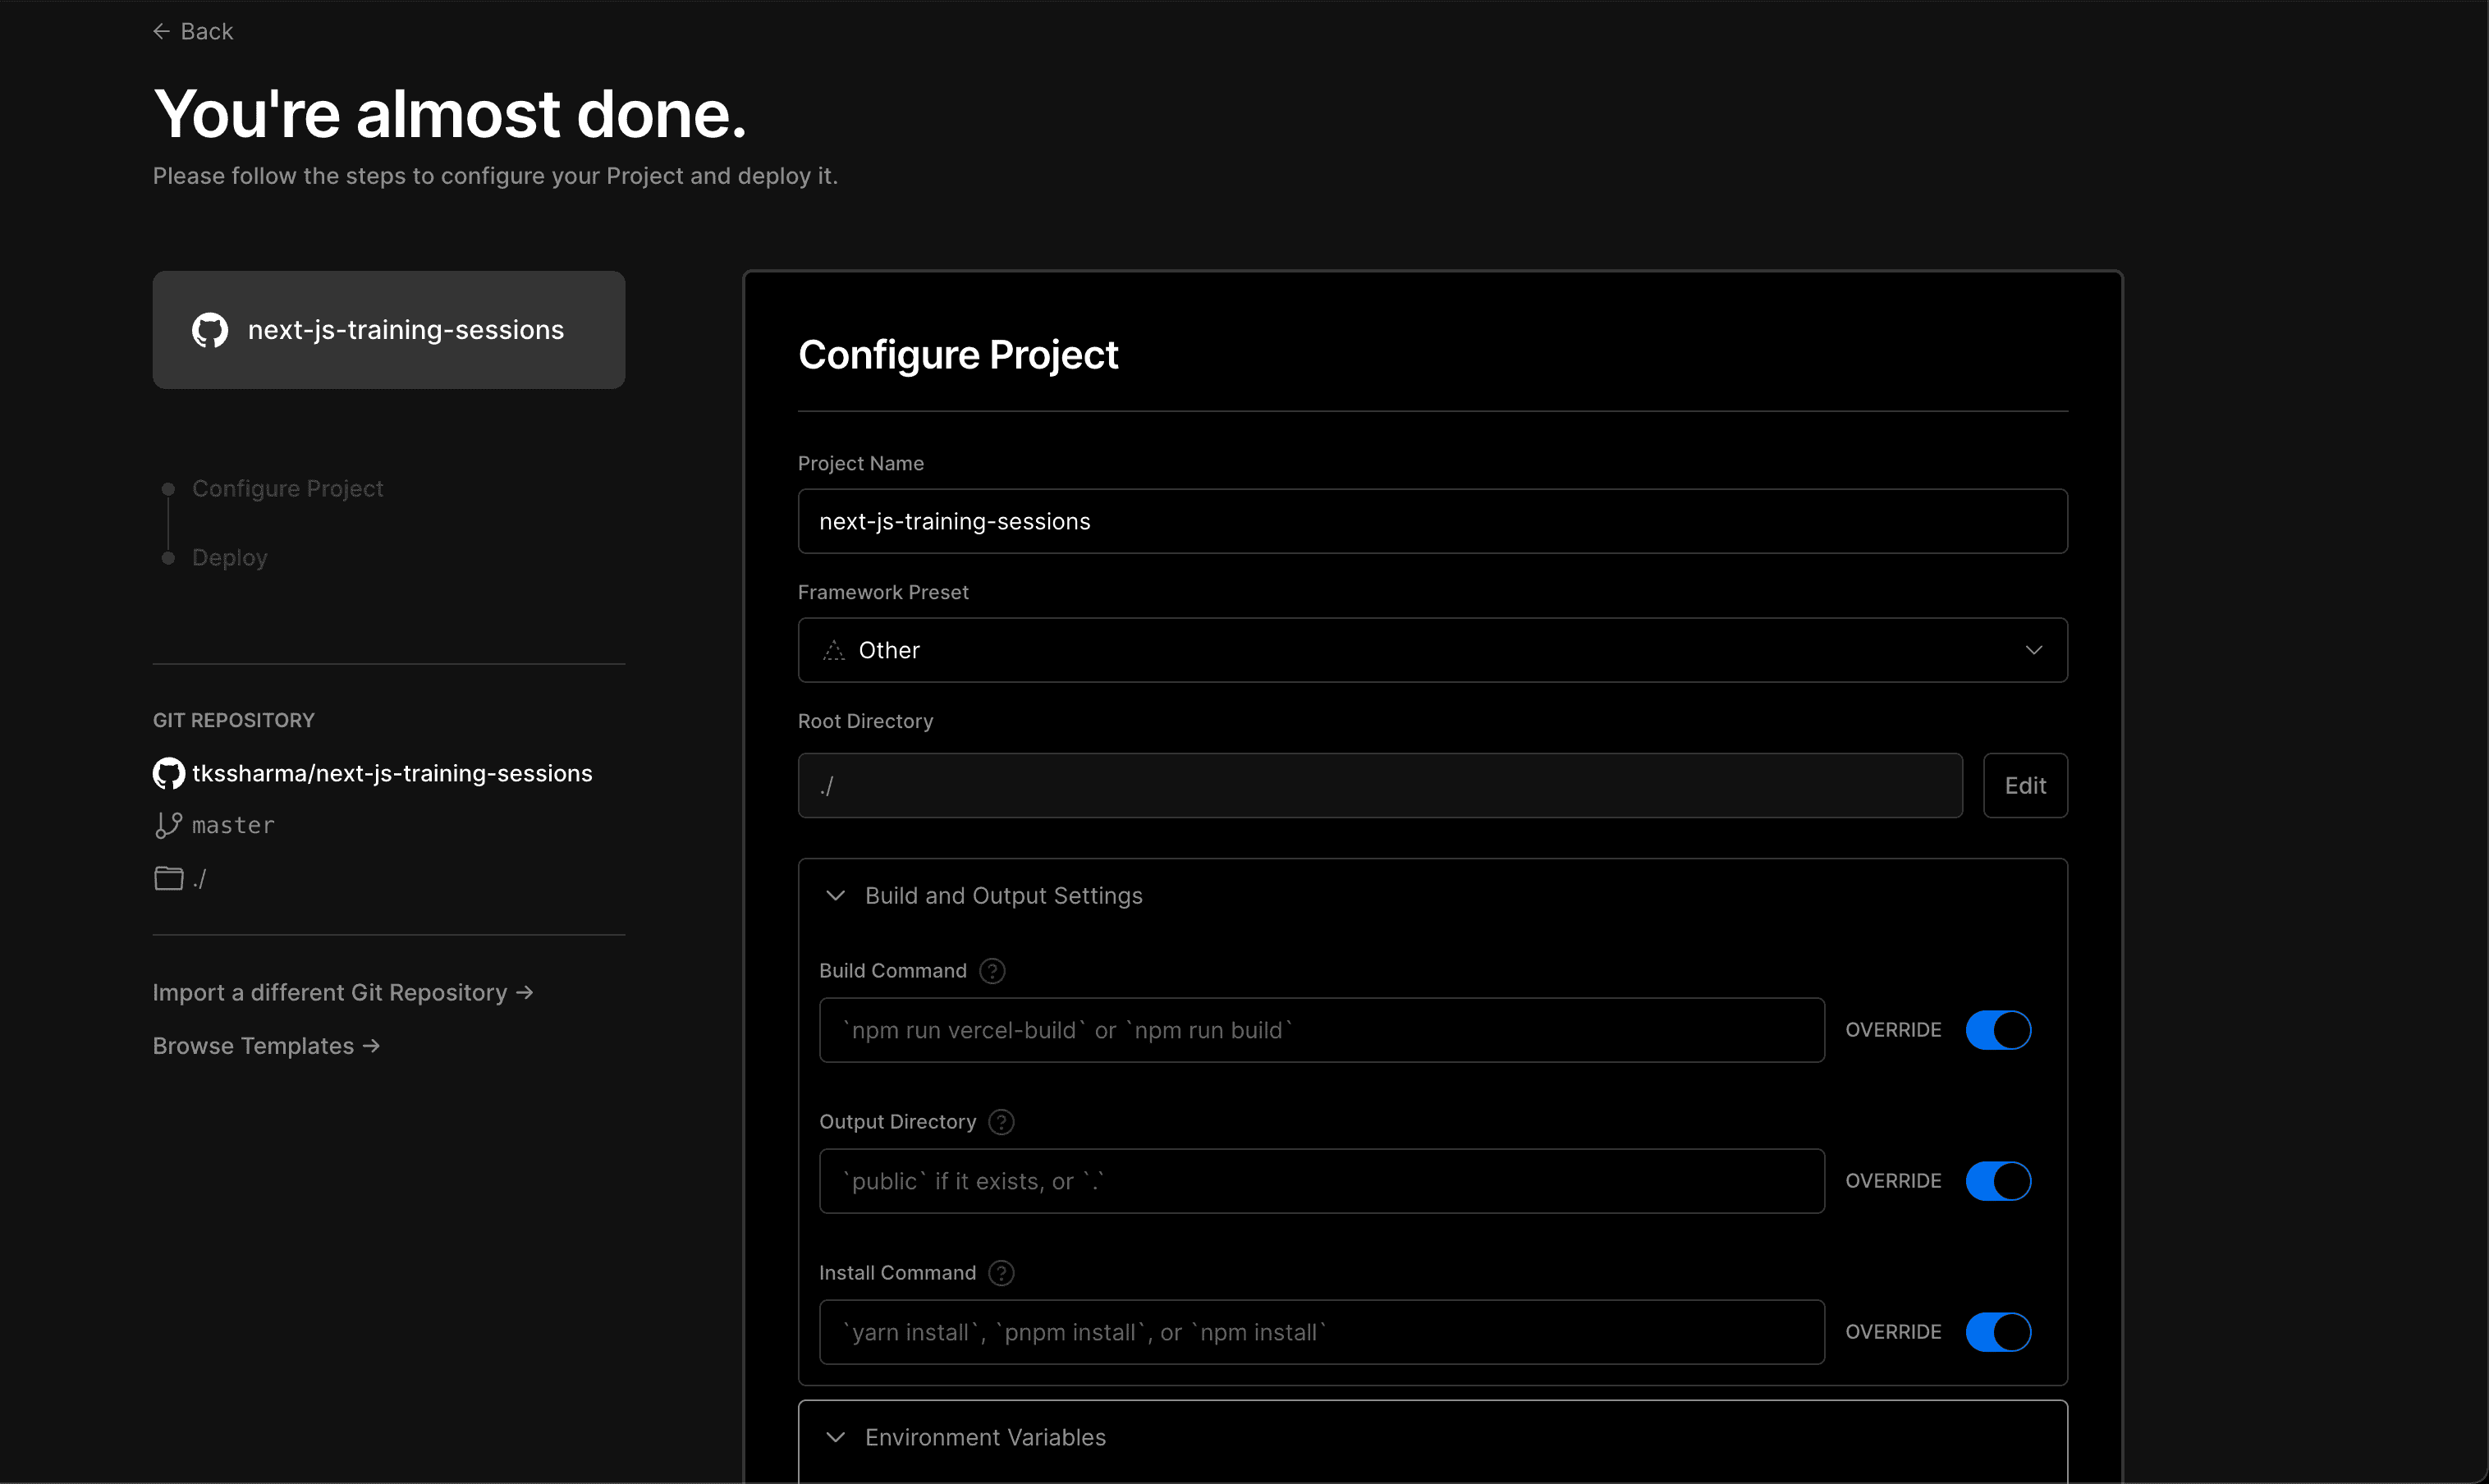
Deploying a Next.js application on Vercel To get started deploying your app on Vercel, follow along with these steps:
- Visit the Vercel website and sign up (I used GitHub as the provider)
- From the import project, choose your GitHub project
- Since it's a Next.js project, everything will be set correctly. We - have to choose a team and click the deploy button
- Visit your project online 🎉
- You can find my deployed version here:
And that's how easy it can be! Even on other hosts like Netlify the process is quite similar and easy to follow.
Comments