
Write Your First Microservice in Nest JS 🔭 🎯
Why Nest JS
Before we dig deep into something, we must understand the relevance in it. We all know microservices is a hot topic now and its widely accepted as a modern software architecture pattern. If you are not aware of microservices here is your reference.
Let us see the benchmarks to choose Nest JS as our hero
-
Built-in support for microservices & transport layers like TCP, gRPC, MQTT, RabbitMQ
-
Has libraries follow best practices
-
Promote good design pattern
-
Promote code quality and maintainability
-
DevOps support ready
Less Talk, More Code
We will be developing a microservice using Nest JS for displaying “Hello World” in the console.
Because it’s a beginner's tutorial, those who are not pretty aware of microservices and its functioning and inter-service communication will get an opportunity to simply understand the things around microservices.
We will be creating two apps — microservice-app and microservice-client.
Here the responsibility of microservice-app is to print “Hello World” in the terminal in response to an event send from the microservice-client.
Create microservice-app
First, you need to install Nest JS if it is not already done. Run npm i -g @nestjs/cli for installation.
Now run nest new microservice-app to create the project. Once it is completed, get into the project directory and run the project to see whether everything works fine.
cd microservice-app
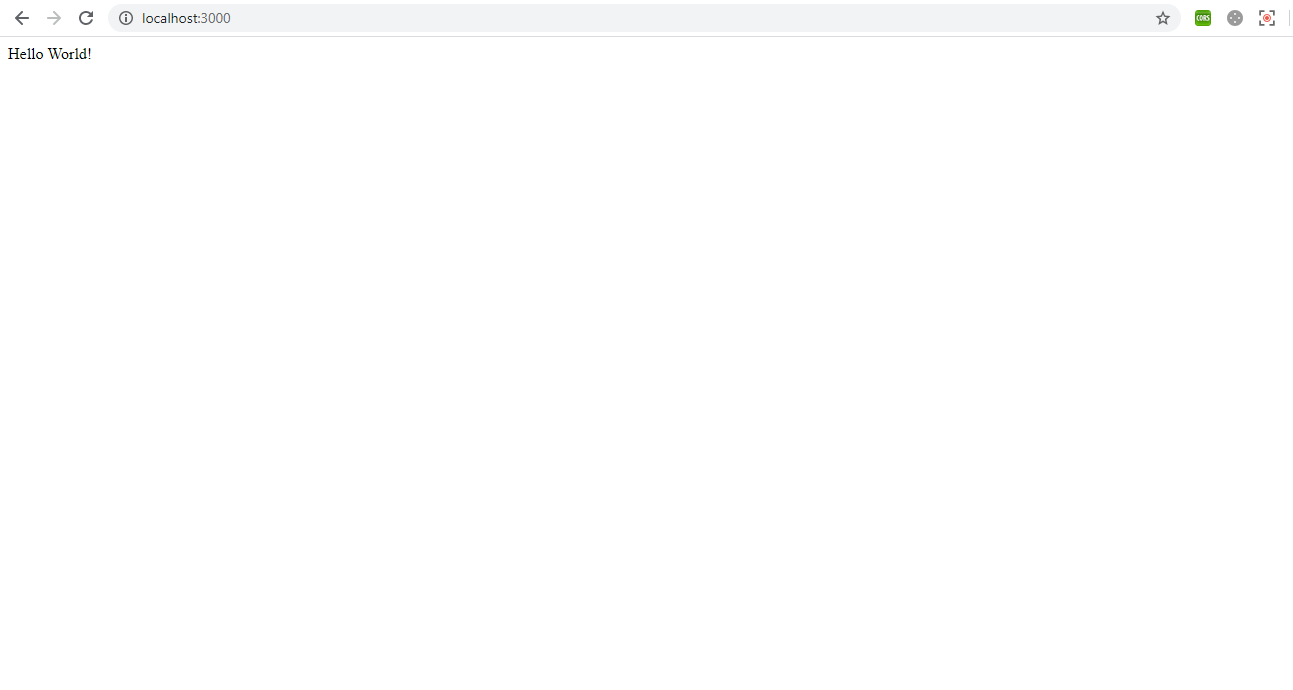
npm run startThen open your browser and navigate to http://localhost:3000/. You will get a message “Hello World”.
But this is not the actual “Hello World” we are expecting because we need to print it in a terminal followed by a an event send over a broker.
Okey! To start building the app as microservice, we need to install the required package:
npm i --save @nestjs/microservicesTo instantiate a microservice, use the createMicroservice() method of the NestFactory class. Go to main.ts file and re-write the code as given below:
import { NestFactory } from '@nestjs/core';
import { Transport } from '@nestjs/microservices';
import { AppModule } from './app.module';

async function bootstrap() {
  const app = await NestFactory.createMicroservice(AppModule, {
    transport: Transport.TCP,
  });
  app.listen(() => console.log('Microservice is listening'));
}
bootstrap();
The second argument of the createMicroservice() method is an options object. The options object is specific to the chosen transporter. Here we are using TCP as the transport layer.
Now go to src and replace the code of app.controller.ts as below:
import { Controller, Get } from '@nestjs/common';

import { EventPattern } from '@nestjs/microservices';

@Controller()

export class AppController {

  constructor() { }

  @EventPattern('message_printed')

  async handleMessagePrinted(data: Record<string, unknown>) {

    console.log(data.text);

 }

}
Here we are using the event-based message style for implementing communication among the services.
To create an event handler, we use the @EventPattern() decorator, which is imported from the @nestjs/microservices package.
The handleMessagePrinted()event handler listens for the message_printed event. The event handler takes a single argument, the data passed from the client (in this case, an event payload which has been sent over the TCP transporter).
Now that everything set for the microservice to be deployable. Run your service npm run start. If everything goes fine you will get a screen like below:

Create microservice-client
A client Nest application can exchange messages or publish events to a Nest microservice using the ClientProxy class.
Let us create a microservice-client app that is going to consume the microservice-app created to print “Hello World”.
nest new microservice-client
This will create a nest project named microservice-client.Now go to src folder and replace app.module.ts file with below-given code:
import { Module } from '@nestjs/common';

import { AppController } from './app.controller';

import { AppService } from './app.service';

import { Transport, ClientsModule } from '@nestjs/microservices';

@Module({

  imports: [

   ClientsModule.register([

    { name: 'HELLO_SERVICE', transport: Transport.TCP },

   ]),

 ],

controllers: [AppController],

providers: [AppService],

})

export class AppModule {

}
We are importing the ClientsModule, which exposes the static register() method. This method takes an argument which is an array of objects representing microservices. Each such object has a name property as well as a microservice-specific options object. Here the name given for our microservice is HELLO_SERVICE.
Now create a file message.event.ts in your src folder and paste the code given below in it
export class Message {

 text: string;

 constructor(text) {

  this.text = text;

 }

}
Then go to app.controller.ts and replace the code as below:
import { Controller, Get, Inject } from '@nestjs/common';

import { AppService } from './app.service';

import { ClientProxy } from '@nestjs/microservices';

import { Message } from './message.event';

@Controller()

export class AppController {

  constructor(@Inject('HELLO_SERVICE') private readonly client:   ClientProxy) { }

  async onApplicationBootstrap() {

    await this.client.connect();
  }

  @Get()
  getHello() {
   this.client.emit<any>('message_printed', new Message('Hello World'));
   return 'Hello World printed';

  }

}
The ClientProxy is lazy. It doesn't initiate a connection immediately. Instead, it will be established before the first microservice call, and then reused across each subsequent call. However, if you want to delay the application bootstrapping process until a connection is established, you can manually initiate a connection using the ClientProxy object's connect() method inside the OnApplicationBootstrap lifecycle hook.
To send an event, use the ClientProxy object's emit() method. This method publishes an event to the message broker.
The emit() method takes two arguments, pattern and payload. The patternshould match the one defined in an @EventPattern() decorator and here it is message_printed. The payload is an event payload that we want to transmit to the remote microservice and here it is an instance of the Message class.
We are all set to run our microservice-client app. From the project root directory run npm run start.Our microservice-app is already running in the background.
Open your browser and navigate to http://localhost:3000/
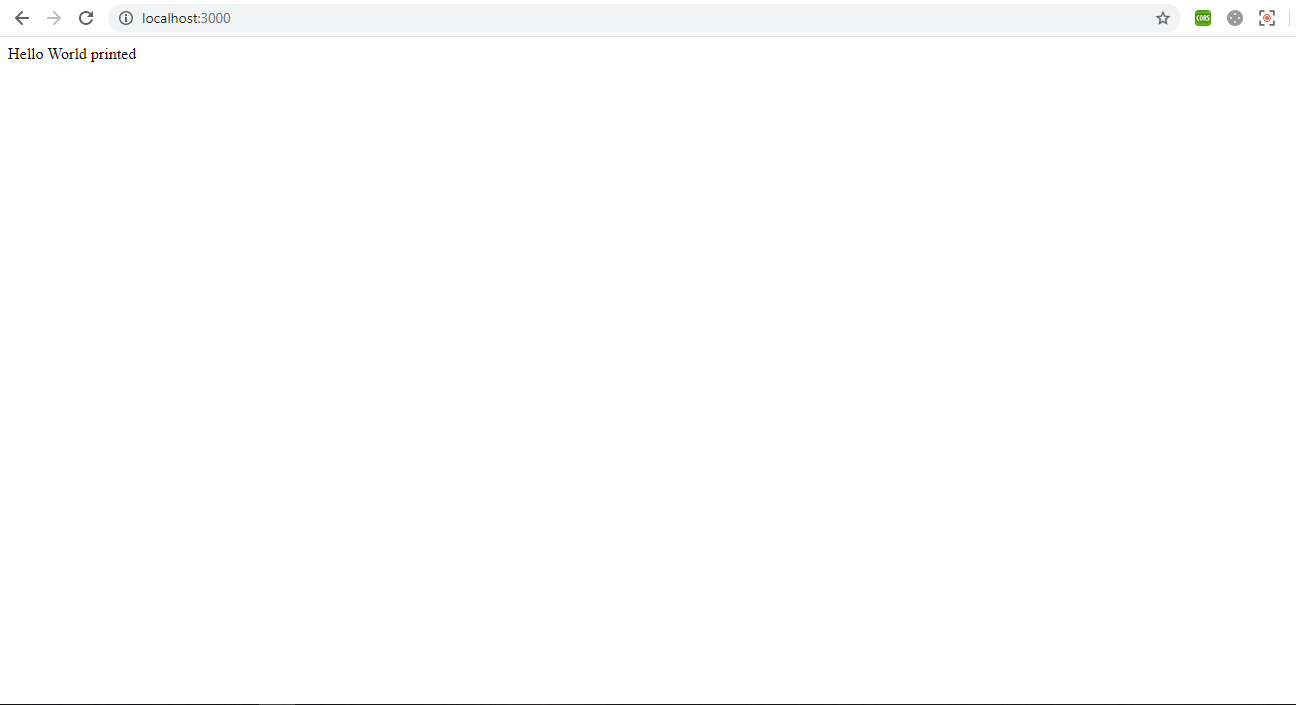
You will see a message like “Hello World printed”. Then go to the microservice-app terminal to see whether “Hello World” printed.

Each time when you refresh your browser you can see “Hello World” repeating in the terminal. Because every time when you refresh the browser,message_printed event will be fired from the client and the microservice will get the event over the TCP transport layer and the corresponding code will be executed.
This is just a beginner level tutorial and we will be discussing more complex scenarios like CQRS and Event Sourcing in my upcoming blogs.
You will get the complete source code here.
Happy Coding :)
Related Stories Guide to Nest JS-RabbitMQ Microservices Let us have a Nest JS microservice driven by RabbitMQ brokermedium.com CQRS Explained With Nest JS We will be developing a simple CQRS app in NEST JSmedium.com
References
Comments