
Setting up Authentication with Auth0 for a Client-Side App
Auth0 is a robust authorization server. It includes a plethora of identity providers plus some very useful features out of the box. This tutorial explains how to set up authentication for client-side apps using Auth0 and the Implicit Grant. We’ll also make sense of it all with a basic example.
Authentication with Auth0
Using Auth0 for authentication with client-side apps means that Auth0 will be responsible for issuing an access token after the user’s identity has been verified. There are different ways to verify a user’s identity. Two common authentication mechanisms found in apps are via credentials (e.g username/password) or through a social identity provider (e.g Google or Facebook).
To be able to use Auth0 for authentication, we need to create an Auth0 Client. You will need an Auth0 account, if you haven’t already signed up.
Set up an Auth0 Client
From Auth0’s dashboard, select New Client.

Create an Auth0 Client to be able to use Auth0 for user authentication using a user store (database) or a social identity provider.
We give the Auth0 Client a name and we select its type as Single Page Web Applications which means that Auth0 will deliver an access token to our client-side app via the hash fragment of the URL.
Under the client’s Settings, take note of the Domain and Client ID values which you’ll need later on.
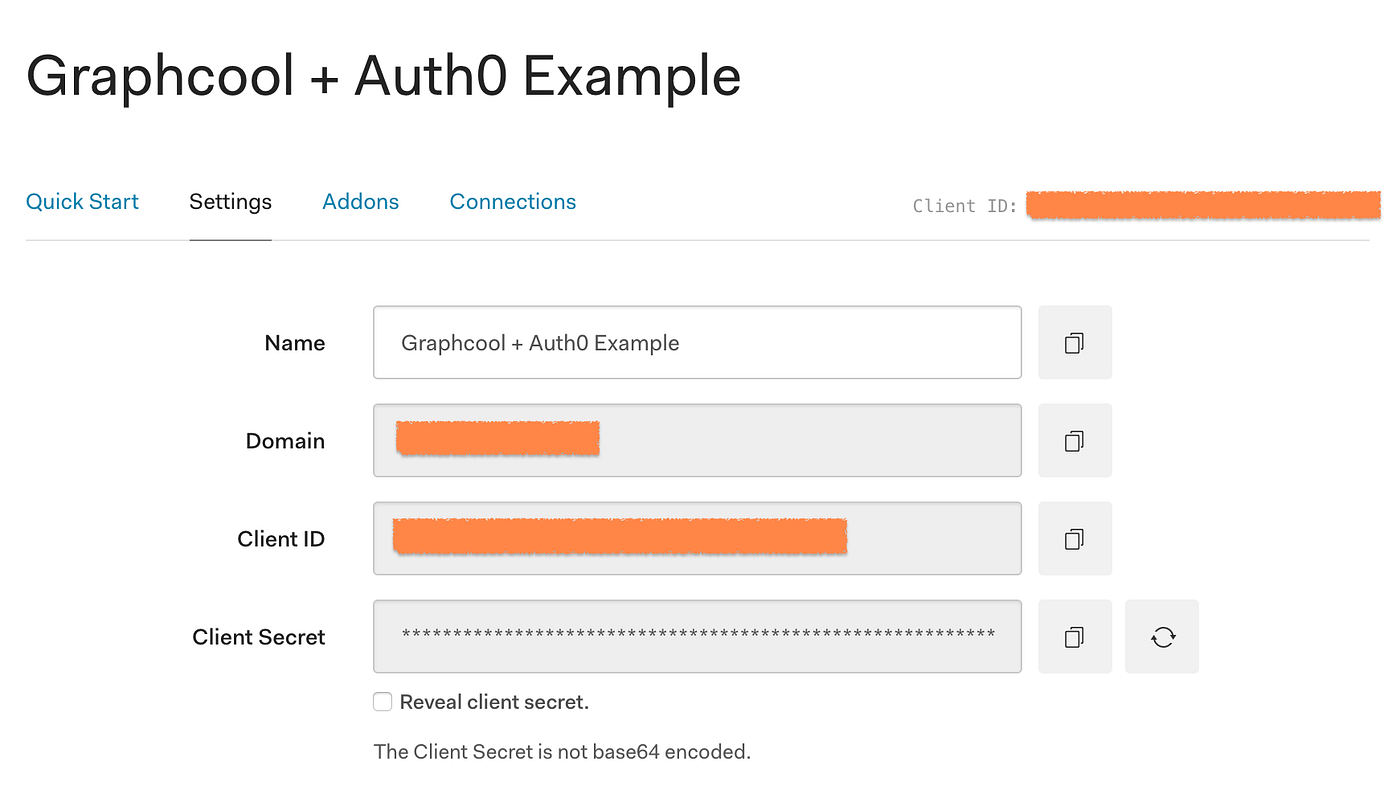
To make requests to the Auth0 client, you will need it’s Domain and Client ID values.
Still under Settings, we’ll set a callback URL. For the example we will build shortly, we’ll set the callback URL to: [http://localhost:3000/callback](http://localhost:3000/callback.).
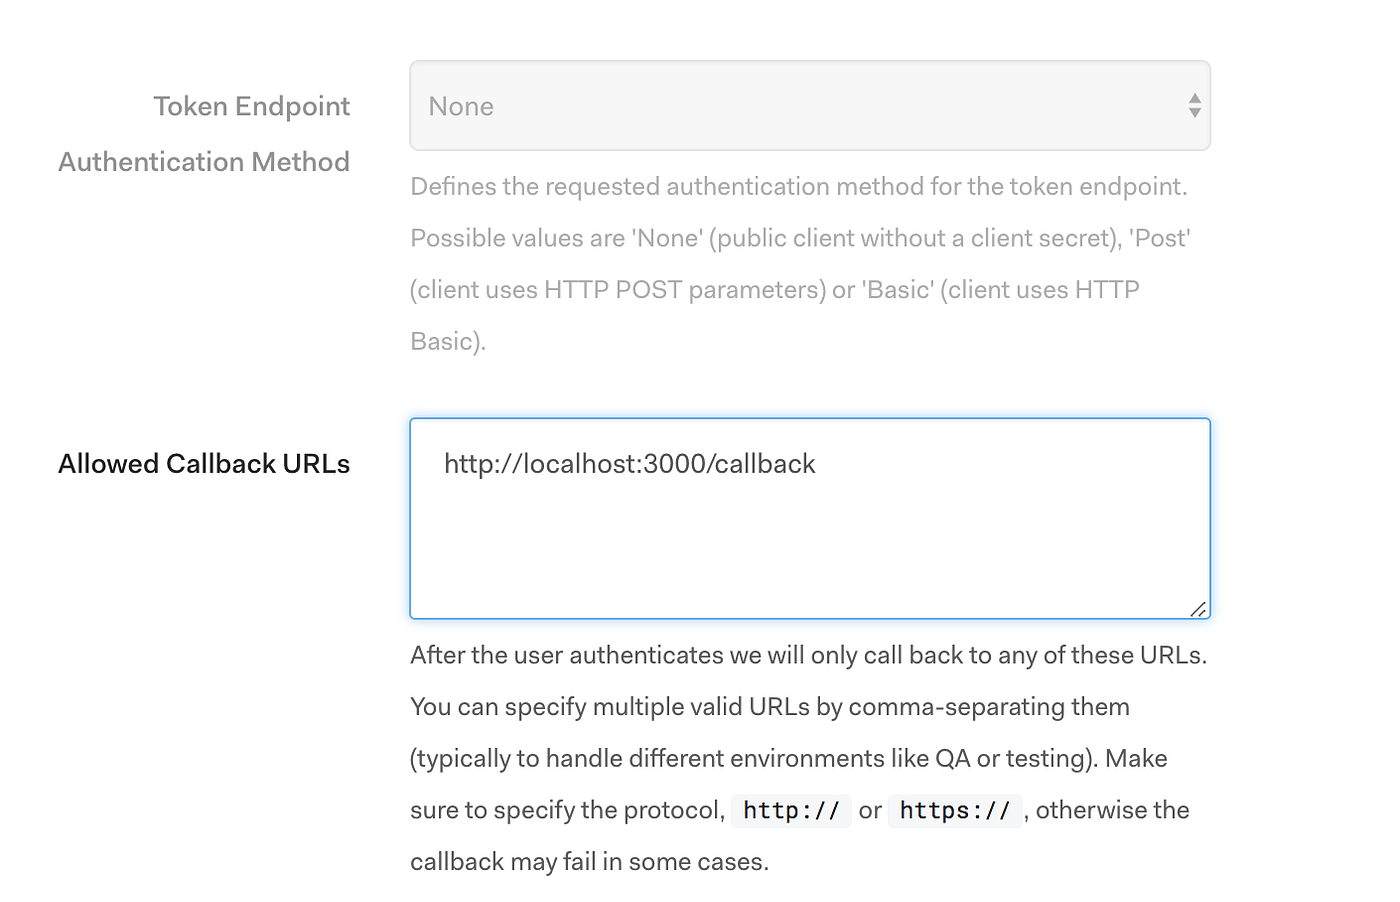
Since we’ll be running our app locally, we’ll use localhost and any available port.
Next, scroll down to where it says Show Advanced Settings, and in the Grant Types tab, select Implicit. If you wish to understand better why this is the recommended grant, this article explains the different flows.
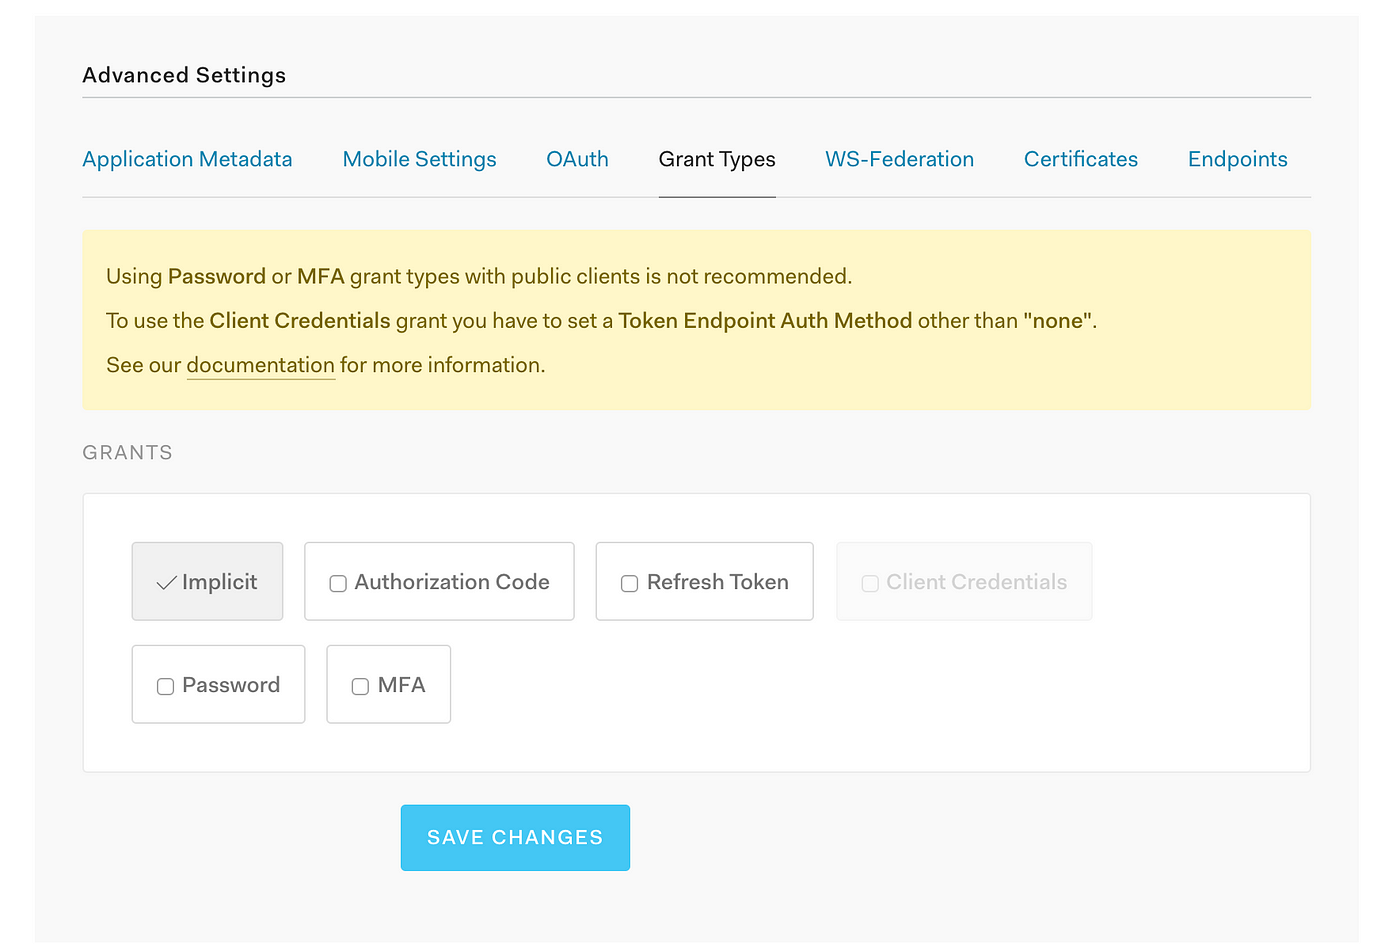
Client-side apps should use the Implicit Grant
Finally, select Save Changes to save the changes to your Auth0 Client.
Test Authentication with Auth0
After setting up our Auth0 Client, we should be able to test that authentication with Auth0 works and that users get back an access token after their identity has been verified. To test the Implicit Grant we set previously for the Auth0 Client, we must have a client app running in the browser. For this, we’ll bootstrap a basic app using Create React App or you can also check out the code from GitHub.
In a command line, install the create-react-app package globally first:
$ npm install -g create-react-app
Create React App will create a new React app inside an app folder with the following command:
$ create-react-app app
Next, go to the app folder and start the newly generated app:
$ cd app
$ yarn start
The app should load in your default browser.
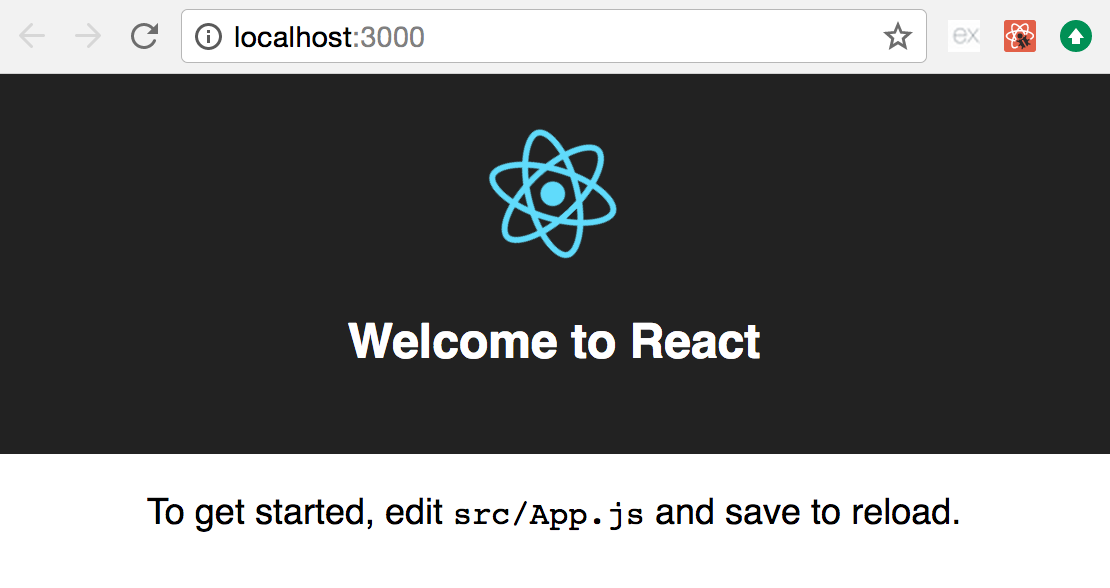
Basic React app generated by Create React App
We’ll define two routes in our app, the default/login route and our callback route with the paths / and /callback respectively. Our login route will redirect the user to the Auth0 Login Page where the user will log in. After the user logs in, Auth0 will redirect the user to the callback URL we set in the Auth0 Client ([http://localhost:3000/callbac](http://localhost:3000/callback.)k) and include the access token in the hash fragment. As you can see, the callback URL corresponds to the app’s callback route path. To set the routes in our app, we’ll install [react-router-dom](https://www.npmjs.com/package/react-router-dom):
$ yarn add react-router-dom
We define the routes in index.js using the components BrowserRouter, Switch, and Route from react-router-dom:
We’ll encapsulate all functionality related to authentication into its own module /auth.js so it can be used by different components. To have our app interact with Auth0’s Authentication API we’ll use the library auth0.js:
$ yarn add auth0-js
With auth0.js we can instantiate an Auth0 Client with our Domain and Client ID values. To launch the Auth0 Login Page, we create a login function where we call our client’s authorize method which will call the [/authorize](https://auth0.com/docs/api/authentication#database-ad-ldap-passive-) endpoint on our behalf. This should result in the following auth.js module:
auth.js module in /src/common
Remember to replace
__AUTH0_DOMAIN__and__AUTH0_CLIENT_ID__with the Domain and Client ID values for your Auth0 Client respectively.
Finally, we create the Home and LoginCallback components rendered by our login and callback routes:
Home component in /src
LoginCallback component in /src
And that’s it! If it all goes as planned, when we access our app’s root path / the browser should redirect and pull up the Auth0 Login Page.
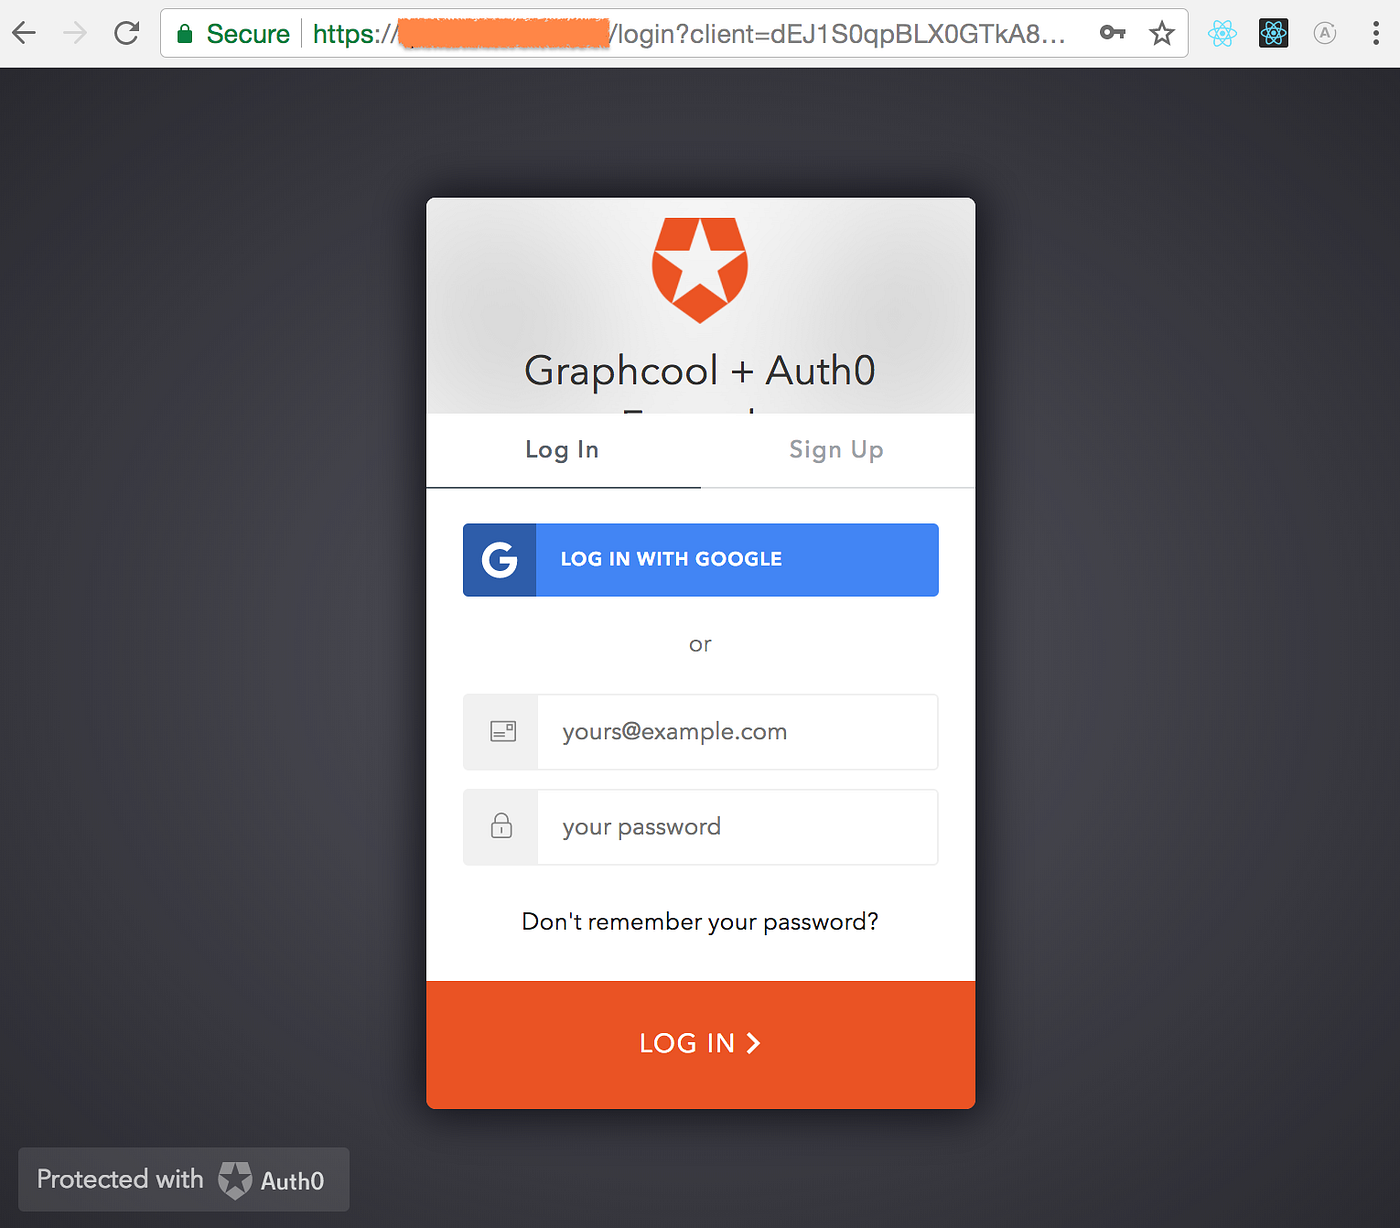
Auth0 Login Page where users authenticate to be granted an access token
Then, after authenticating, Auth0 should redirect the user to the callback URL where they will see the LoginCallback component rendered. Most importantly, notice how Auth0 includes the access token in the hash fragment of the URL.

LoginCallback component rendered after successful login
We have created an Auth0 Client that uses the Implicit Grant to provide a client-side app with an access token after authentication. As described in the OAuth 2.0 specification, an access token is the key to getting access to protected resources or APIs. Now that our client-side app has an access token, it may be able to access a user’s profile information and much more.
Comments or questions? Post them below or reach out to me on Twitter.
Comments